Arts & Culture
Songs & Scones at Hucknall Library: Aug, Sept, Oct & Nov 2026
Who doesn’t love a cup of tea, a lovely scone and some social music-making?
Did you know ? We've been bringing you culture, learning and libraries since 2016. Find out more about 10 years of Inspire.

Make a woolly companion to mark your place in your favourite book, during our National Year of Reading.
Part of the Inspire Charity Knitting Challenge and the National Year or Reading.
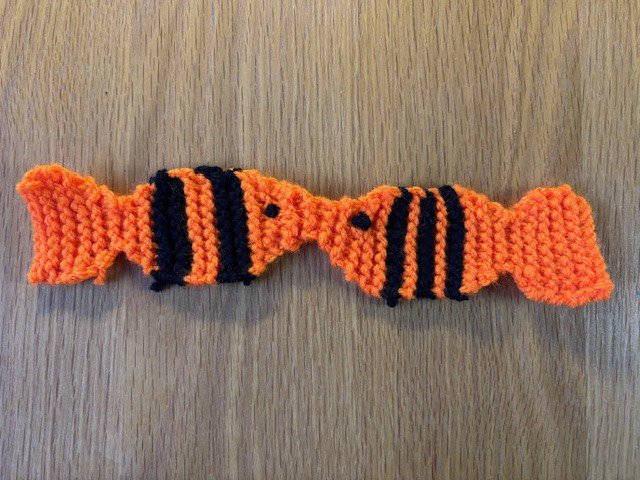
Have a go at one of our knitted fish bookmark projects - perfect for beginners, and a great first knitting project to share with children.
These bookmarks are for you to make and keep. To find out what we’ll be donating to our charity partner, Trussell, this year please visit the Inspire Charity Knitting Challenge main page.
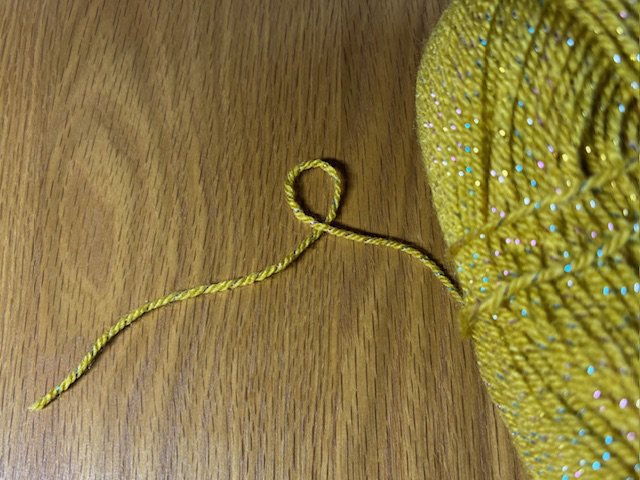
You will need:
Please note: These instructions are for right-handed knitting. If you are left handed you may find it easier to mirror these instructions (e.g. use left where we've said right, and vice-versa.)
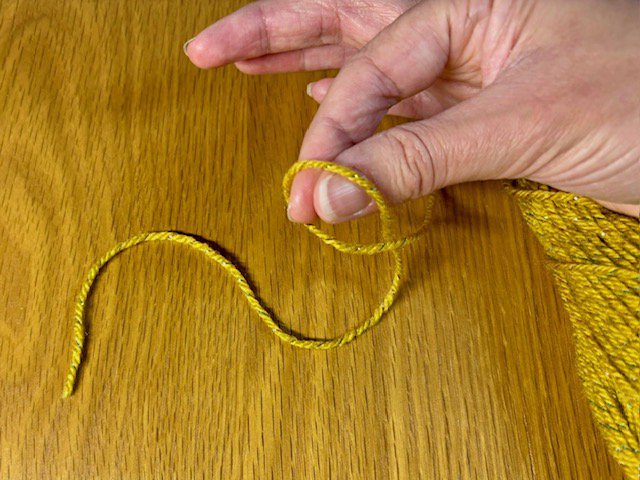
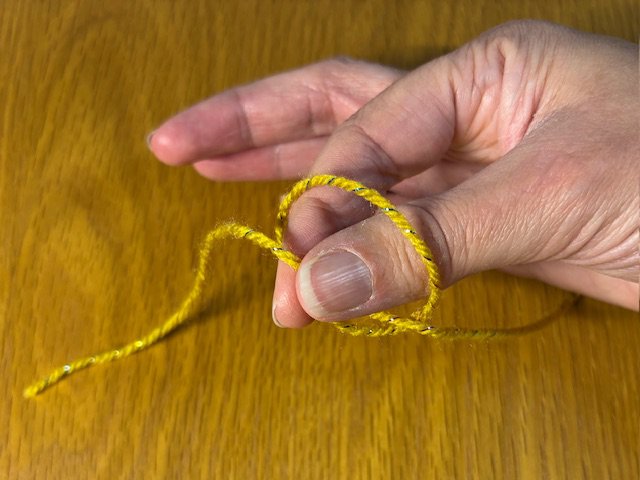
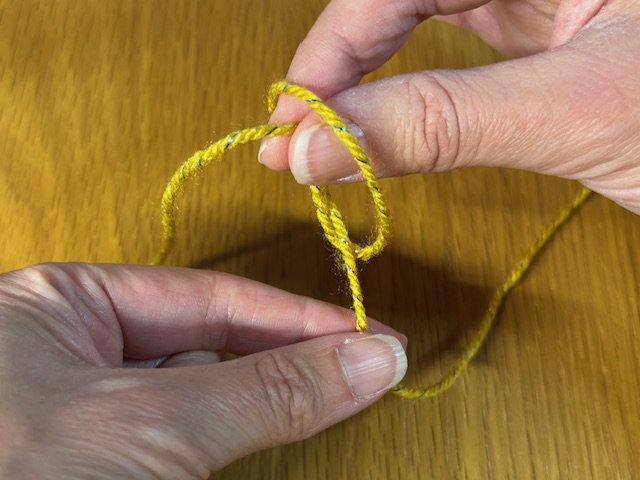
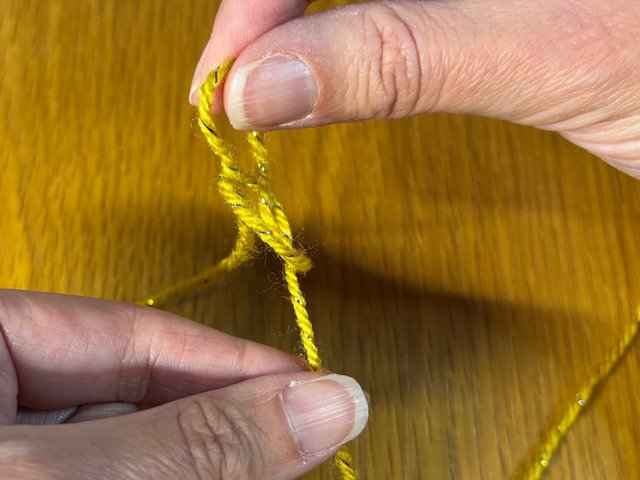
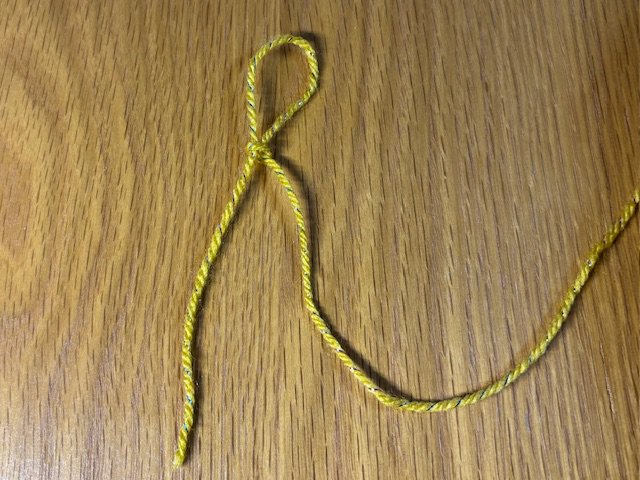
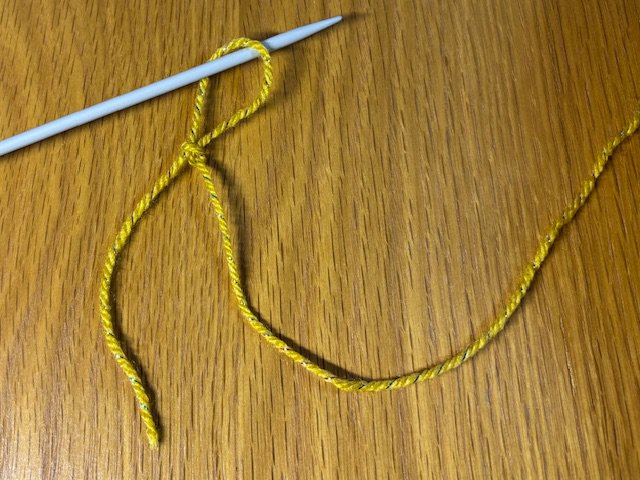
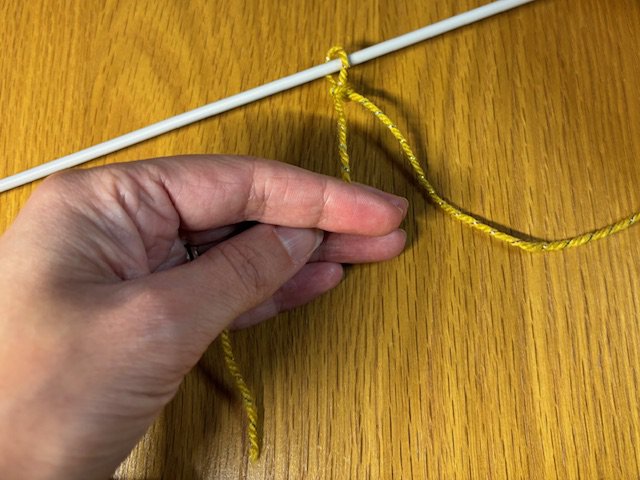
There are lots of different ways to cast on stitches. For a simple method, recommended by knitwear designer Jane Withers, you can watch a video tutorial, made as part of our 2025 Wrapped Knitting Challenge.
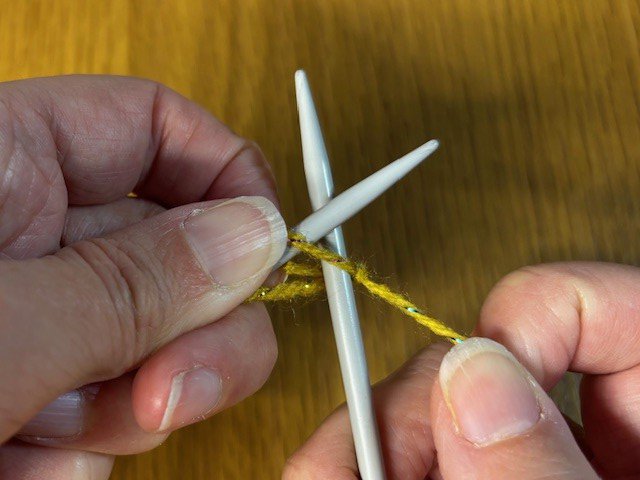
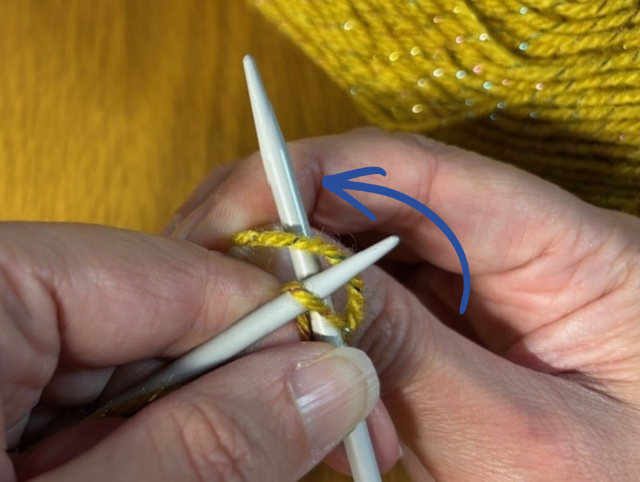
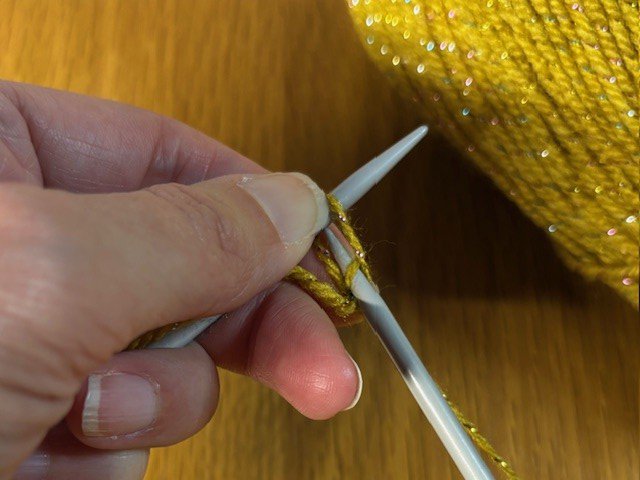
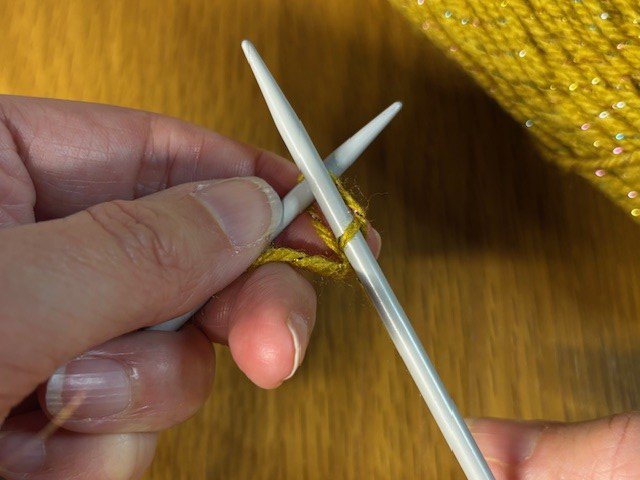
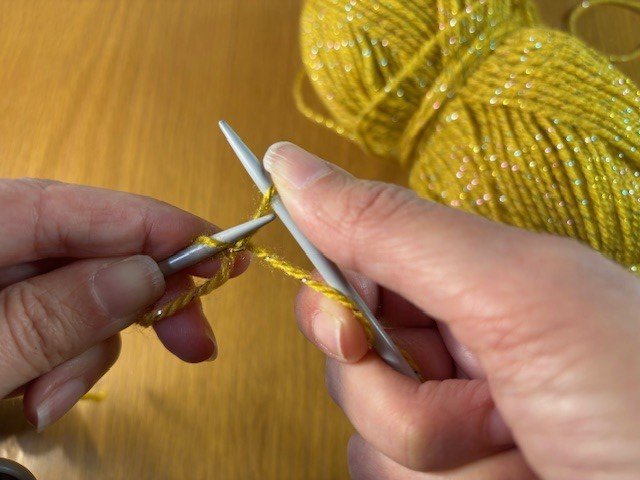
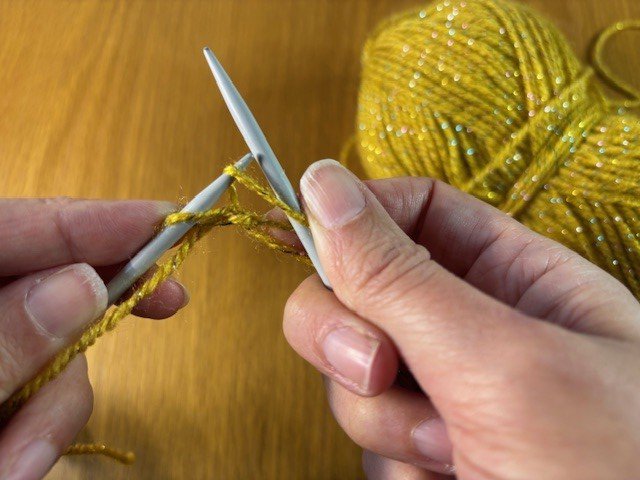
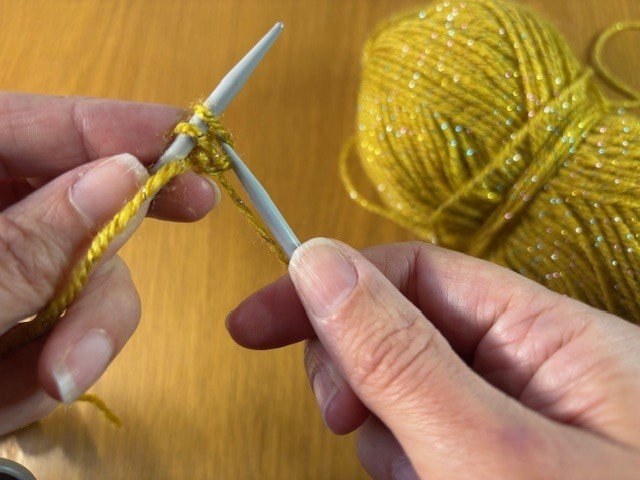
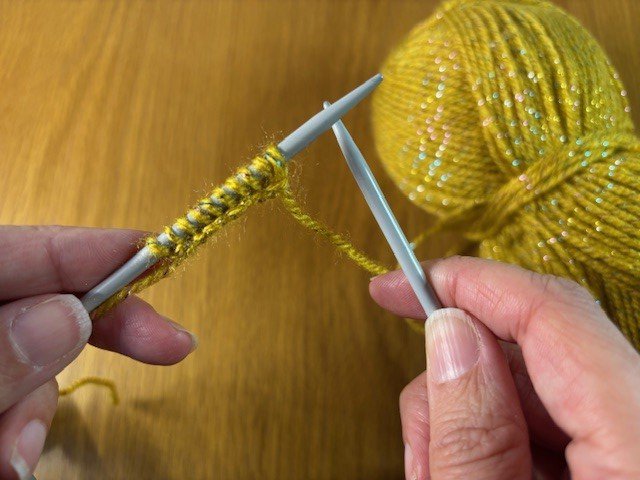
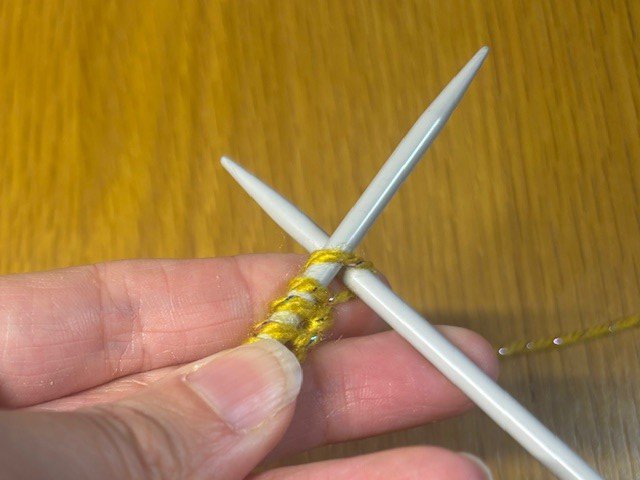
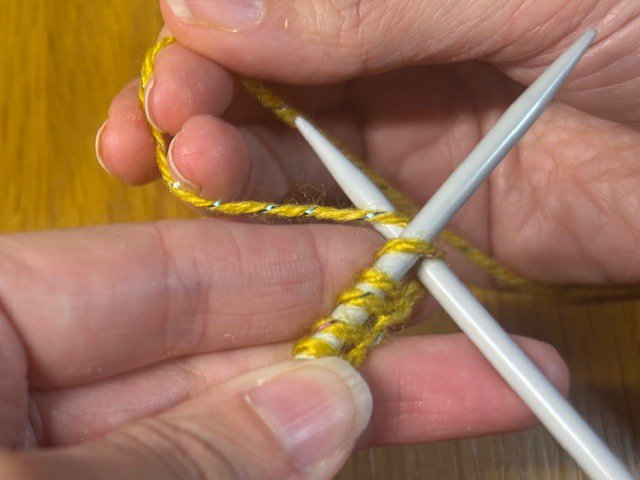
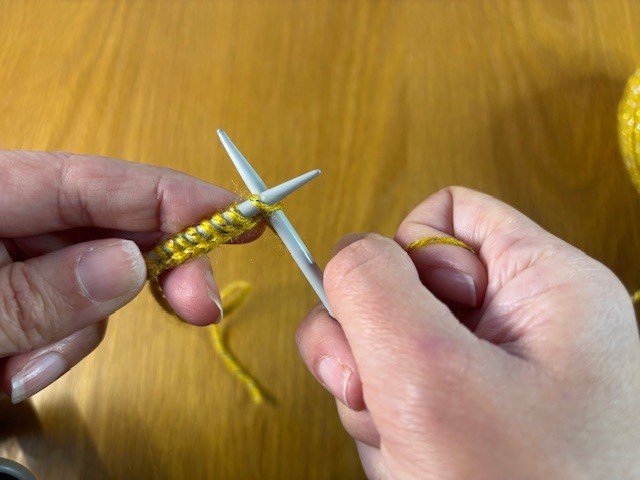
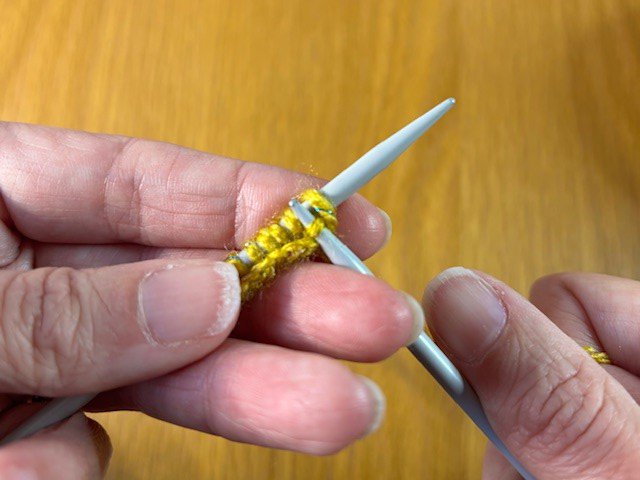
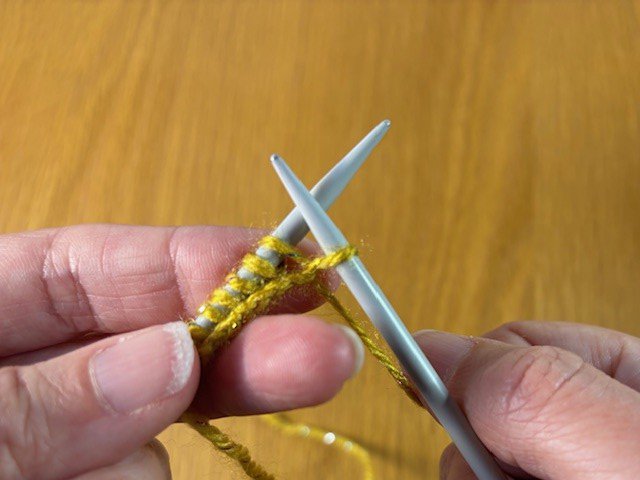
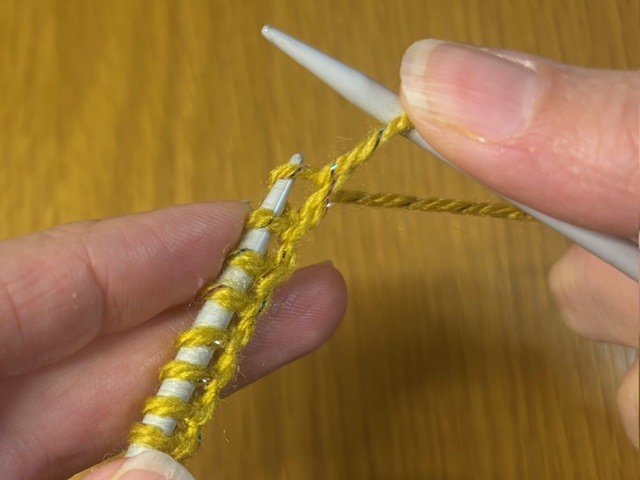
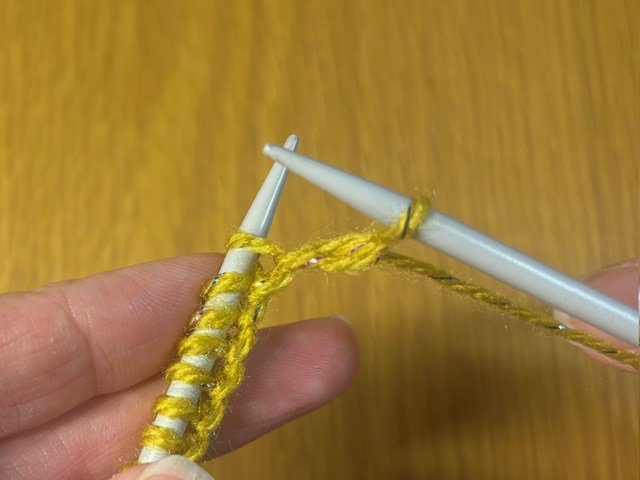
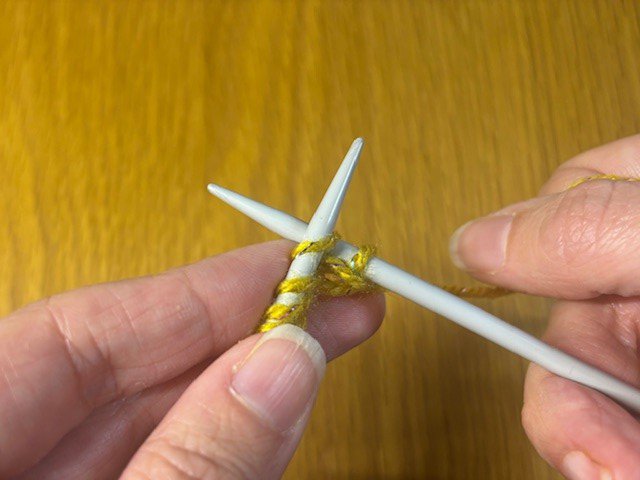
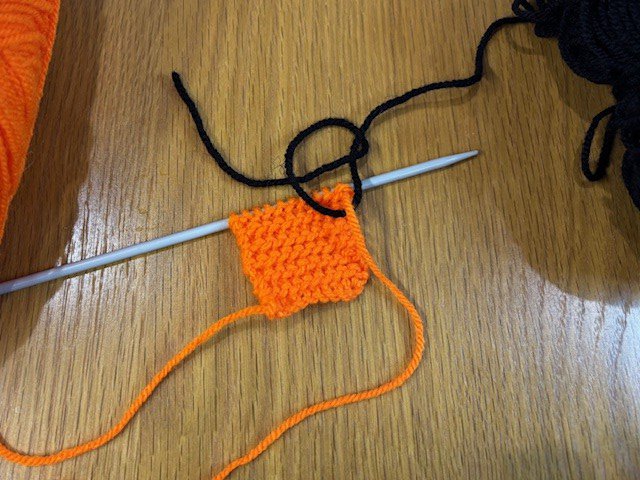
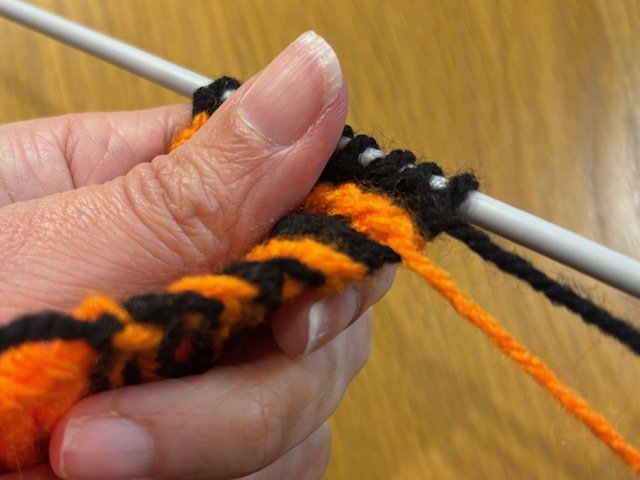
You can 'decrease' stitches to make the project narrower or create a curved edge.
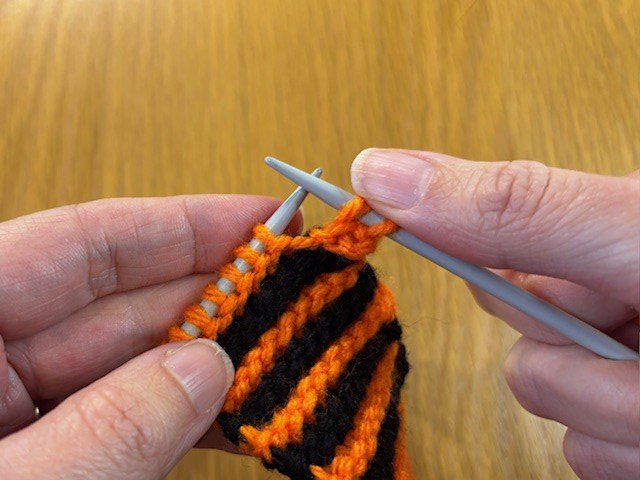
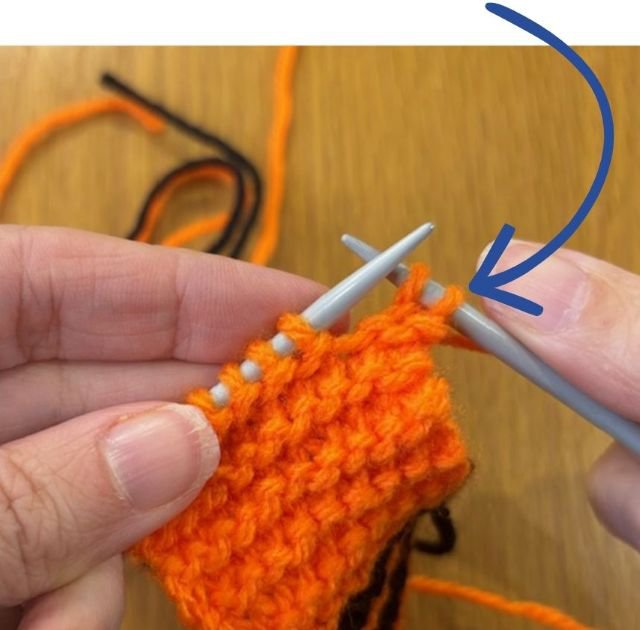
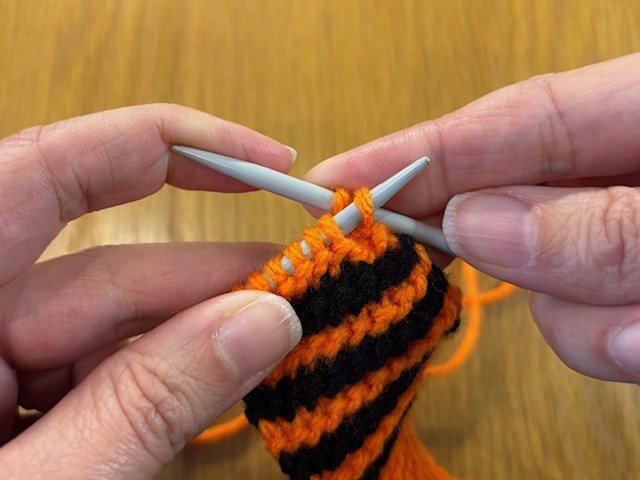
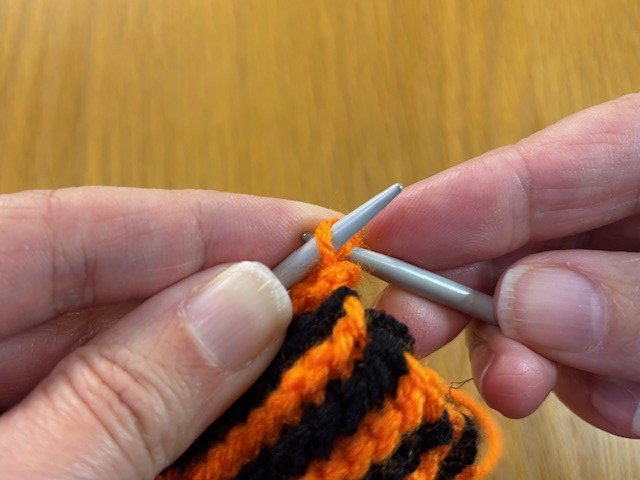
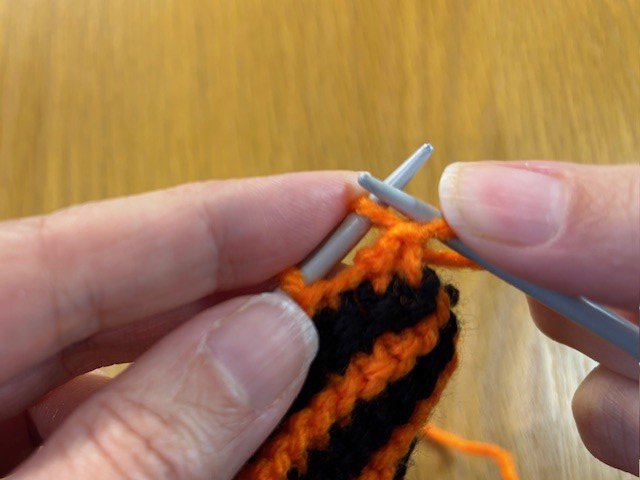
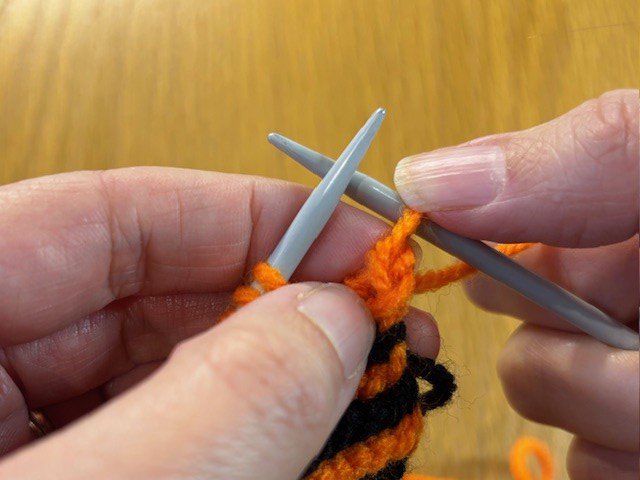
You can add more stitches to make the project wider. For this tutorial we've used the same method that we used for casting on new stitches at the start of a project.
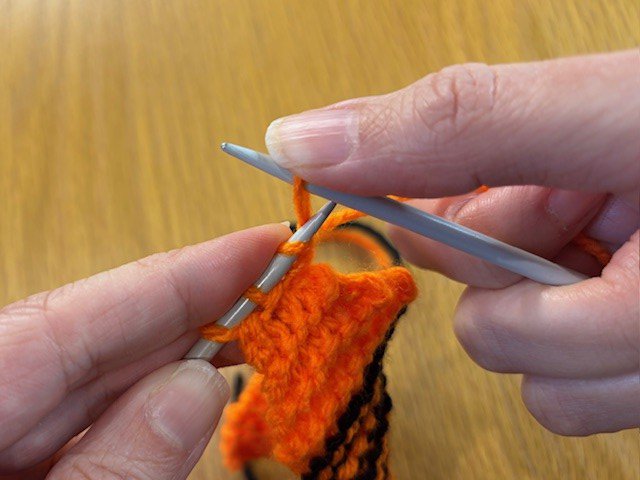
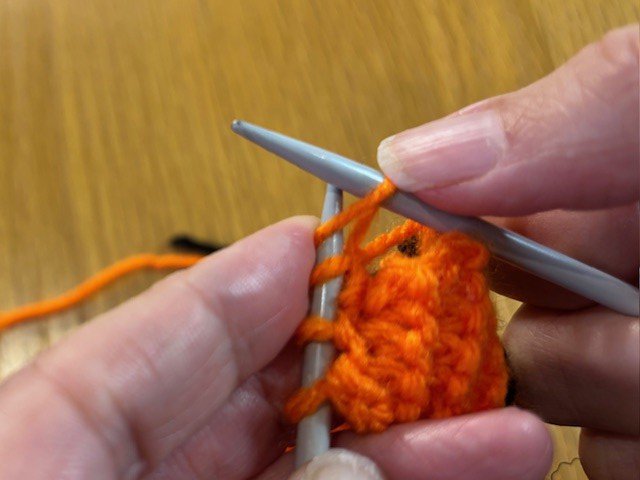
Casting off is the process of taking your project off the knitting needles, leaving you with a finished edge. You can watch a video tutorial of knitwear designer Jane Withers demonstrating how to cast off, as part of our 2025 Wrapped Knitting Challenge.
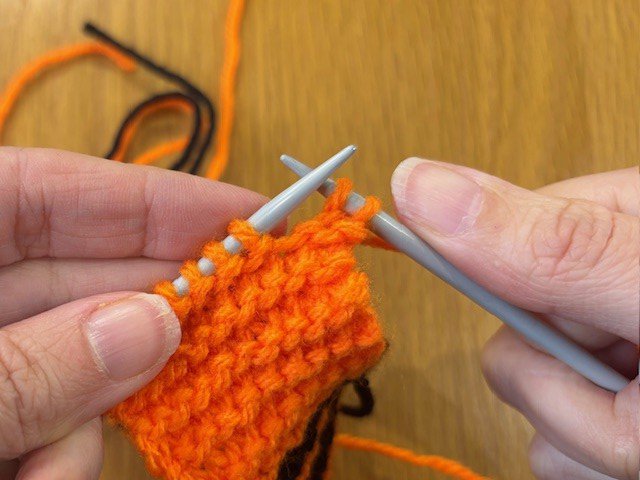
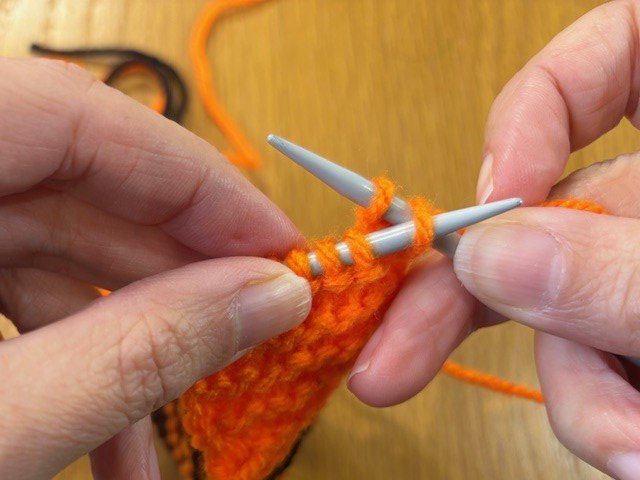
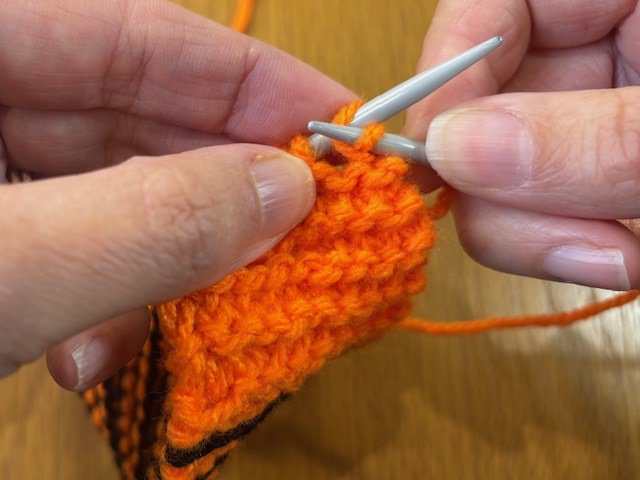
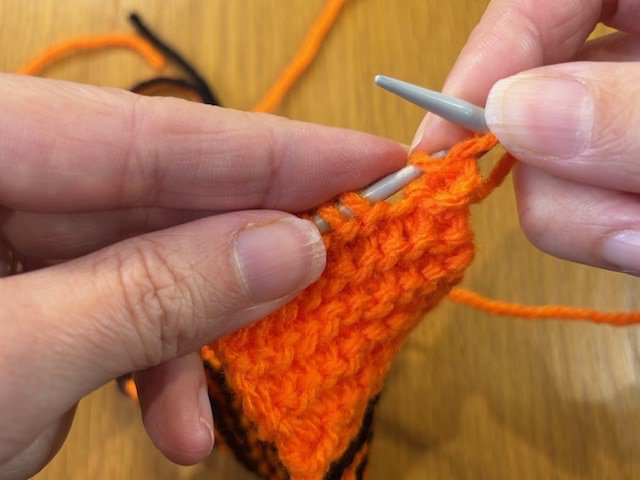
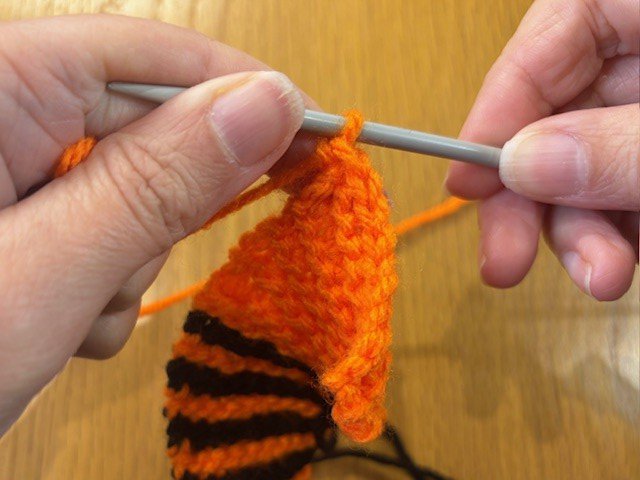
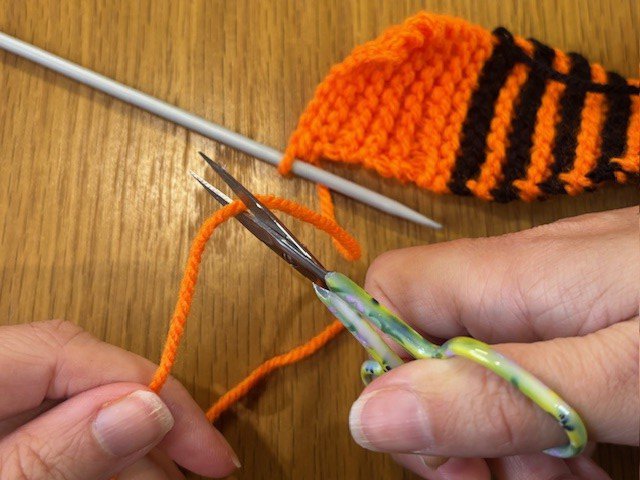
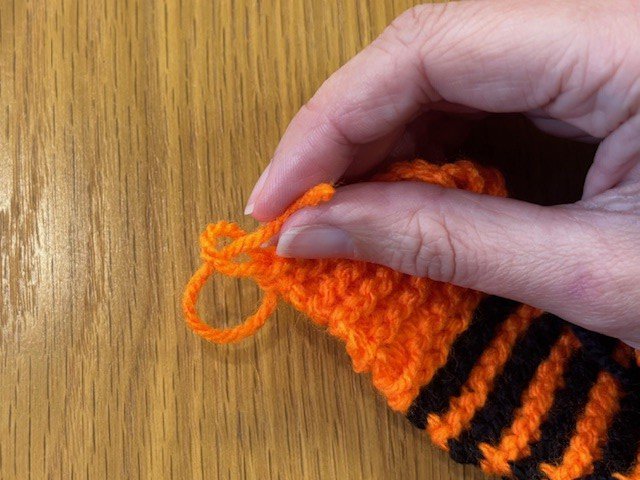
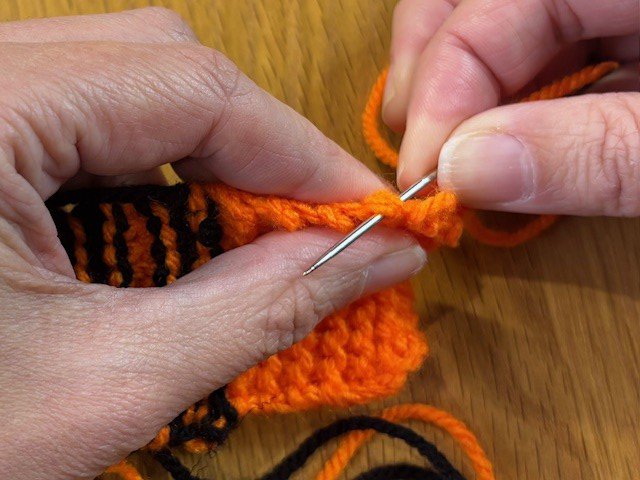
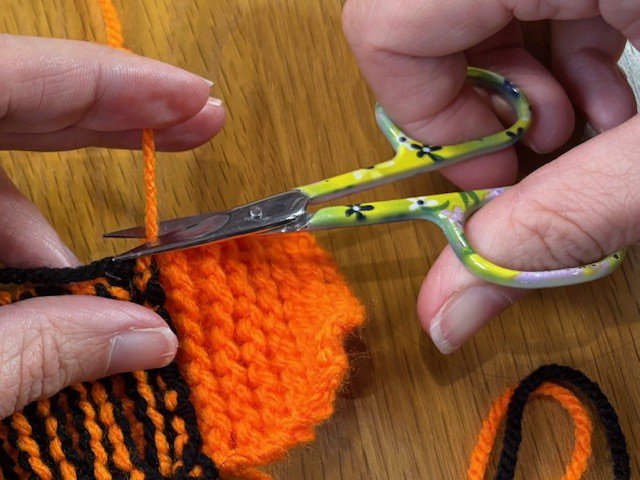
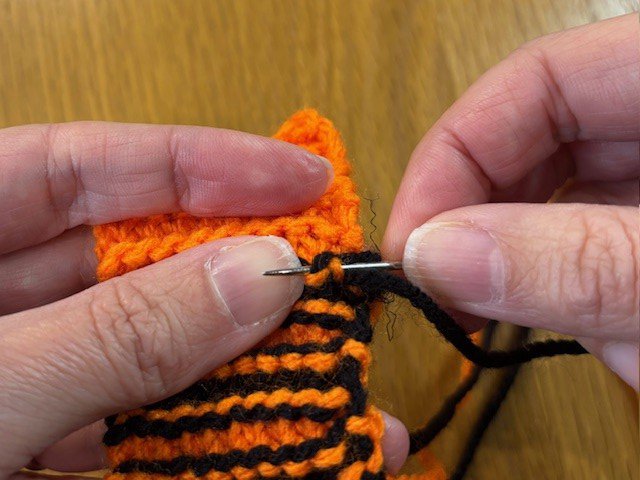
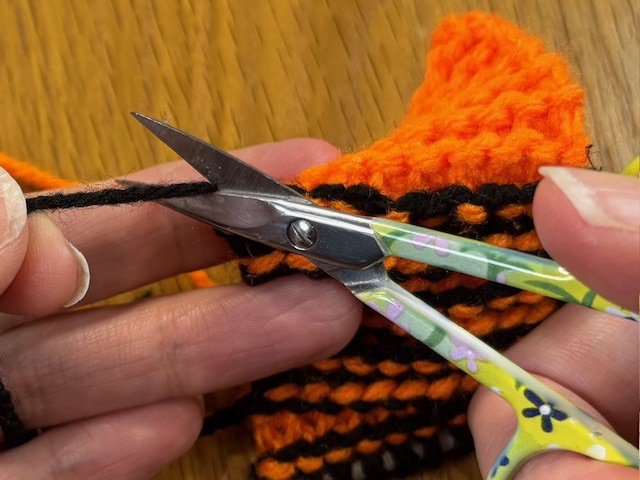
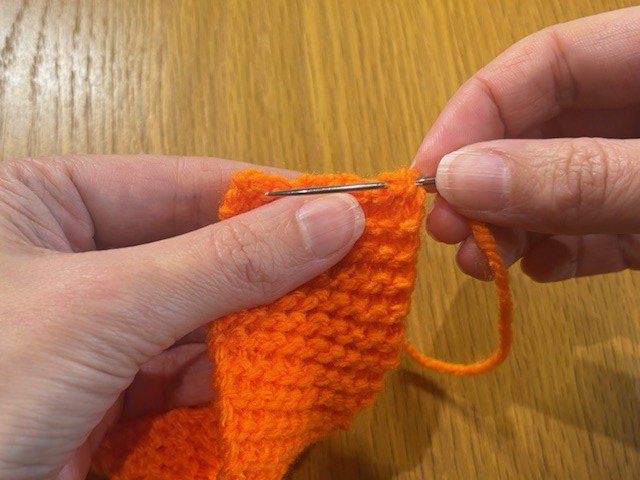
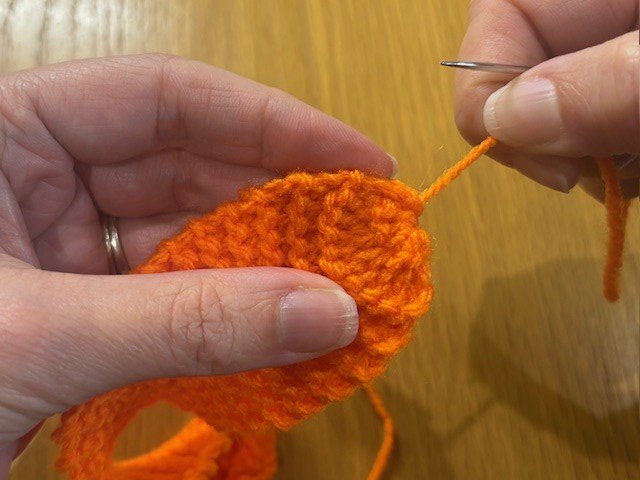
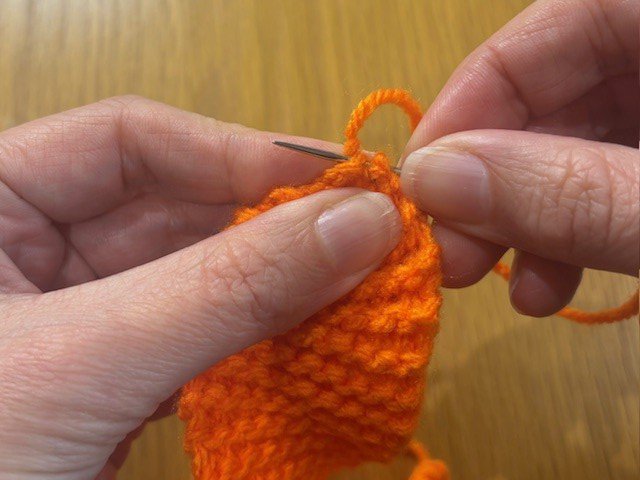
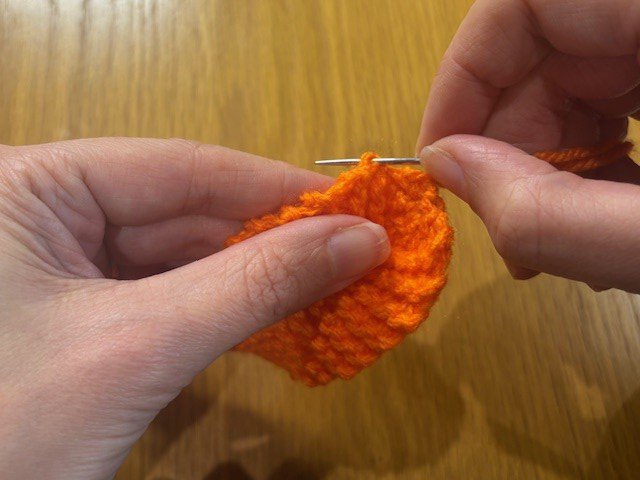
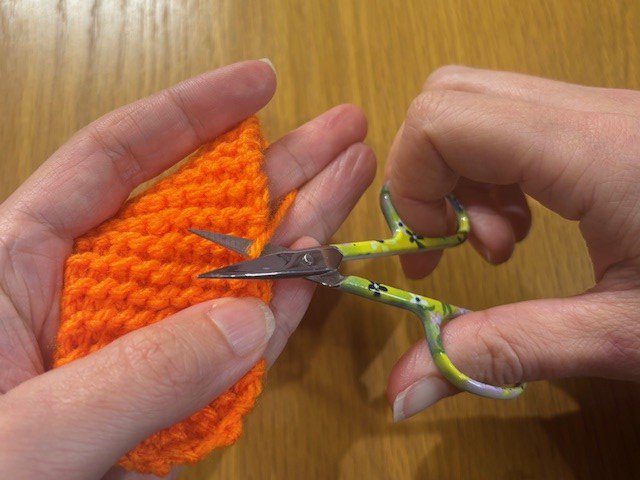
You can now thread any yarn tails onto a large needle and stitch them into your project to tidy them up, before snipping off any excess yarn.
You can either stitch along the edge of your project or across the back, depending on what will look best.
Note: In a couple of the projects below the yarn tails are used for other parts of the project. Please read all of the instructions for each one.
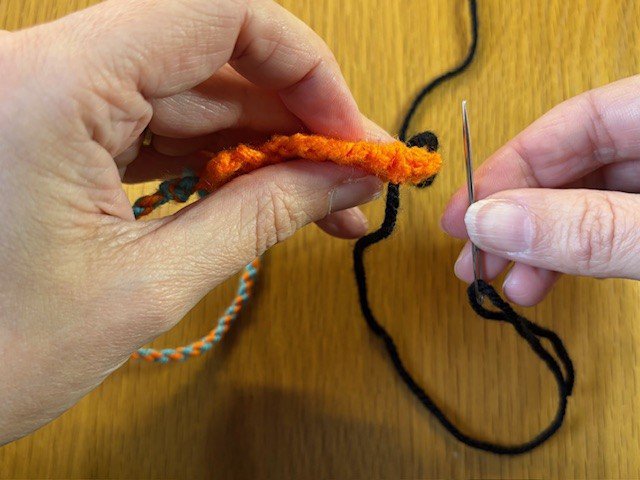
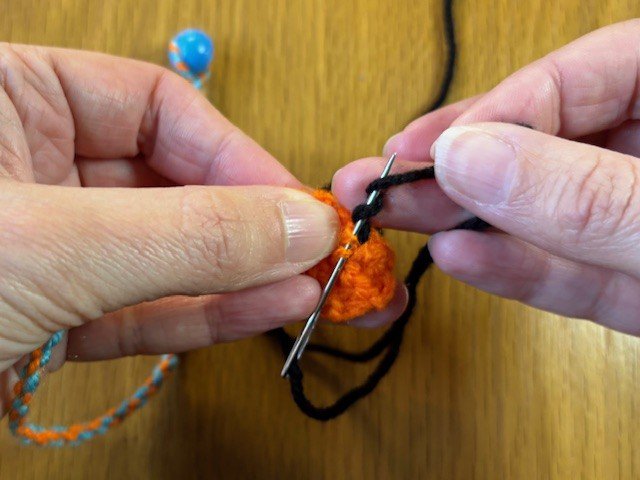
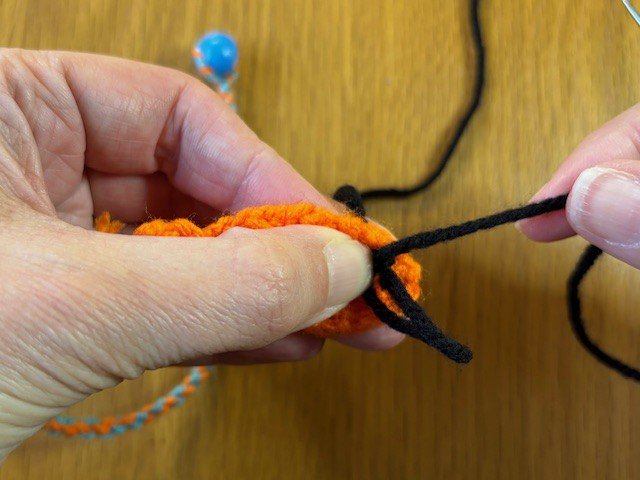
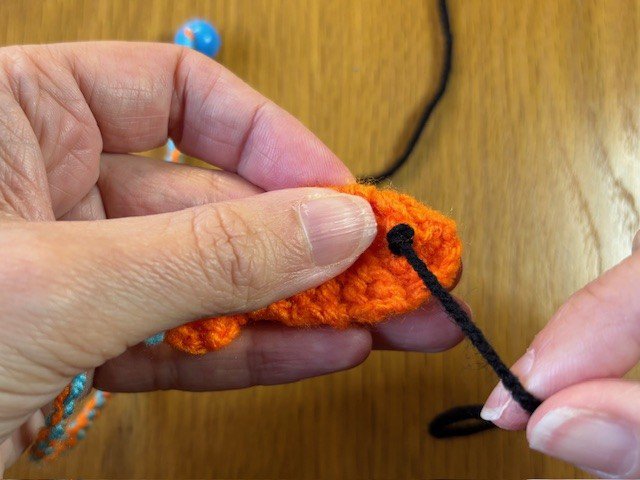
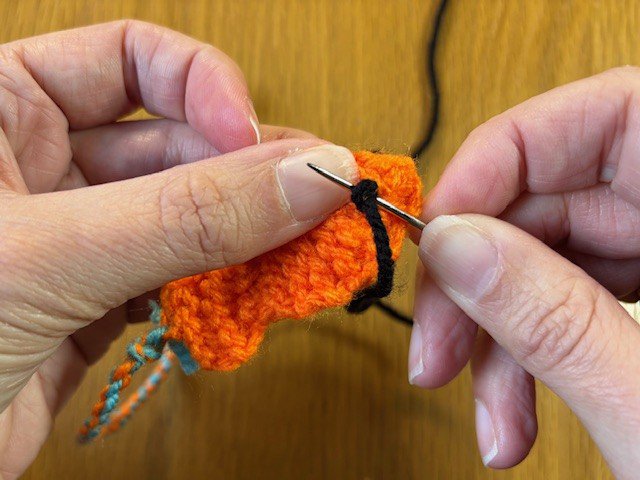
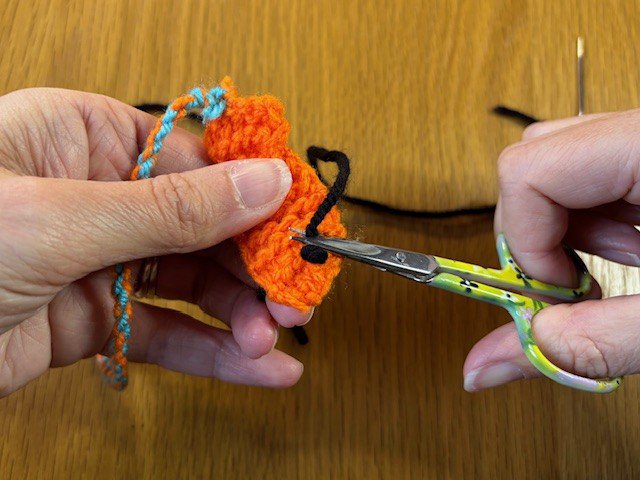
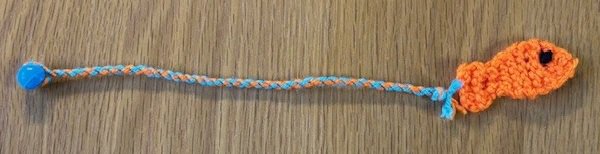
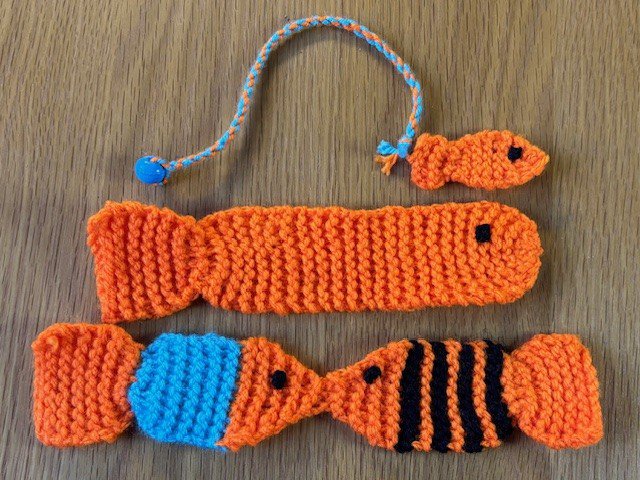
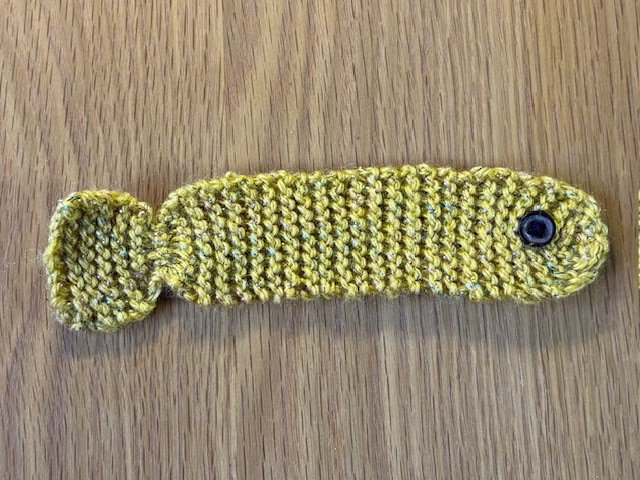
A small and simple knitted fish on a twisty string bookmark - great for beginners.
For more detailed help on any of the techniques mentioned in the instructions, check out our Knitting Basics section.
For this project we used 3.25mm knitting needles. You can use a different size, but it will affect the width of your fish.
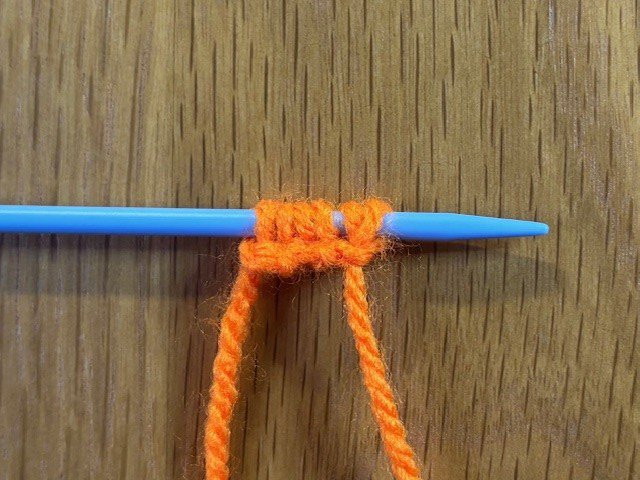
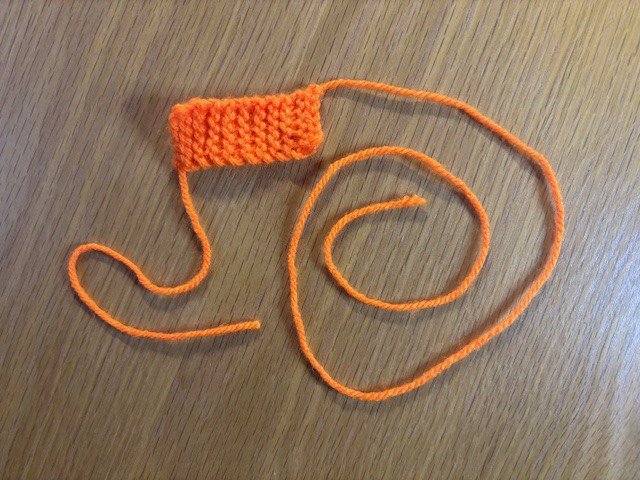
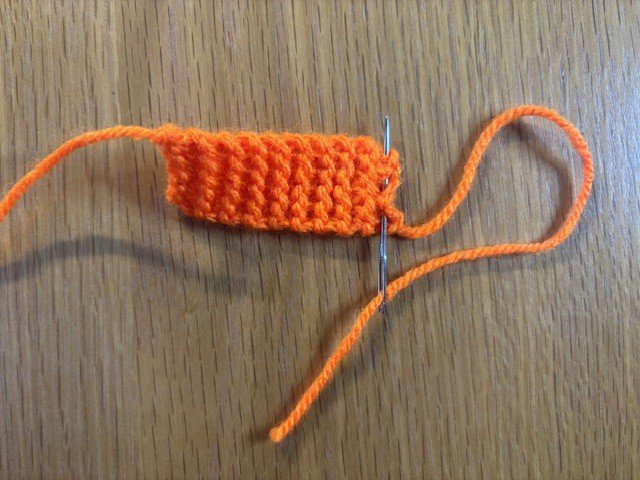
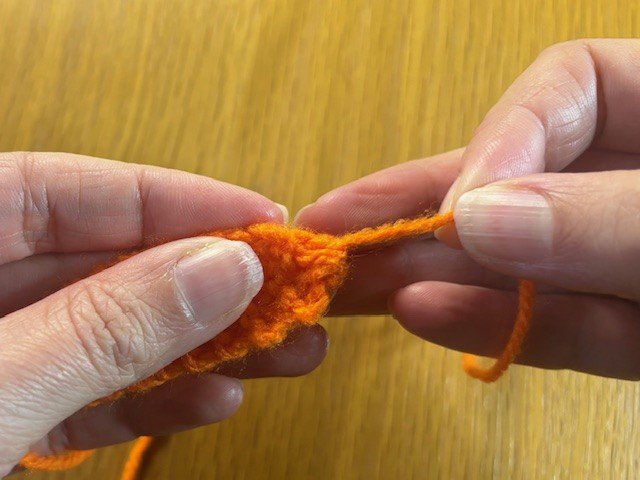
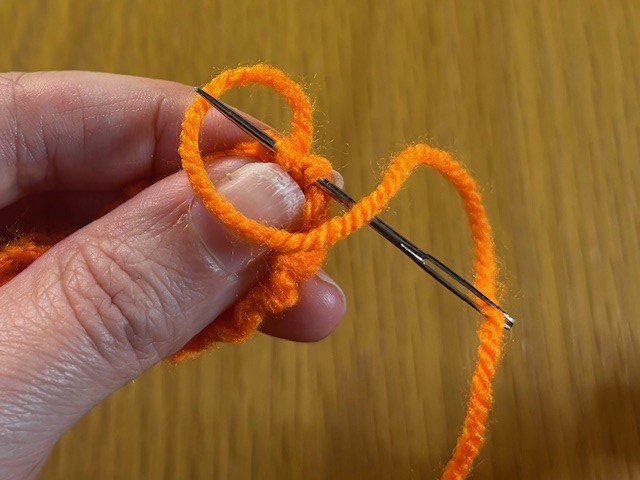
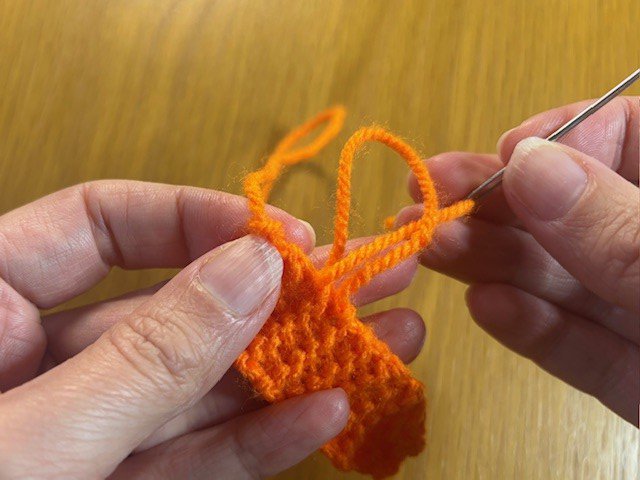
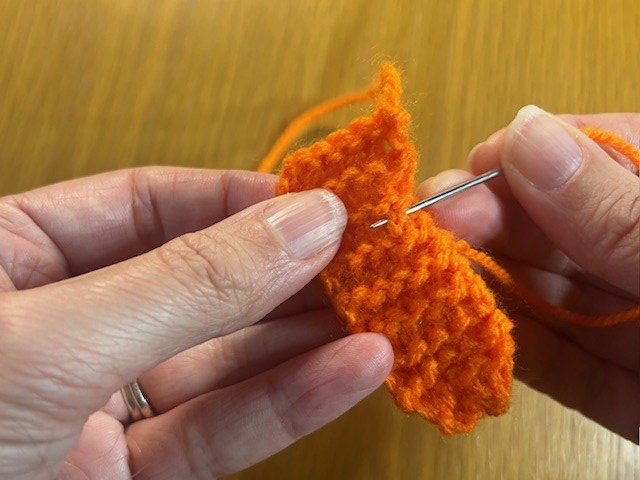
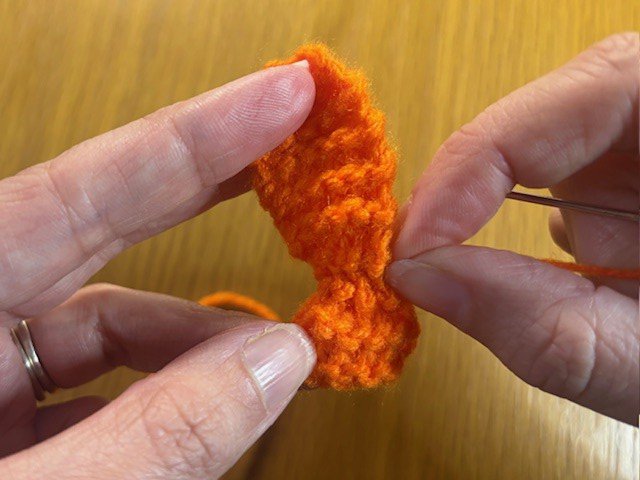
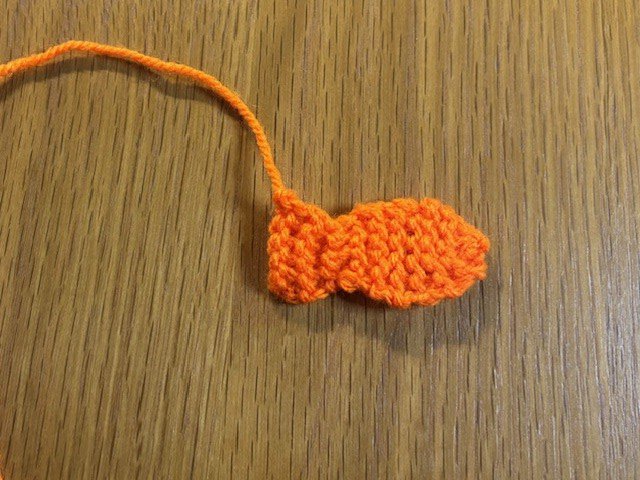
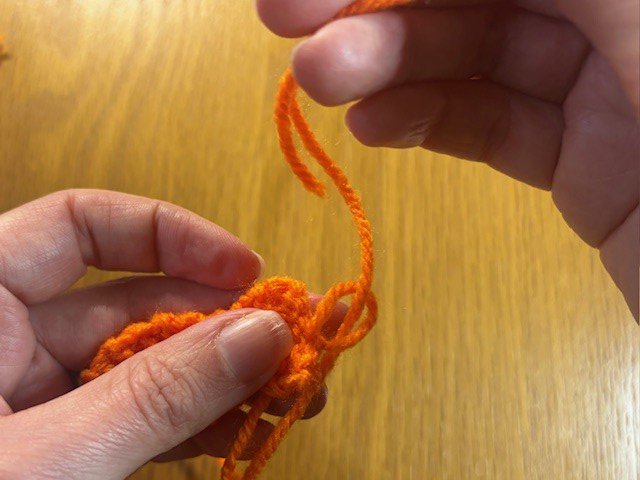
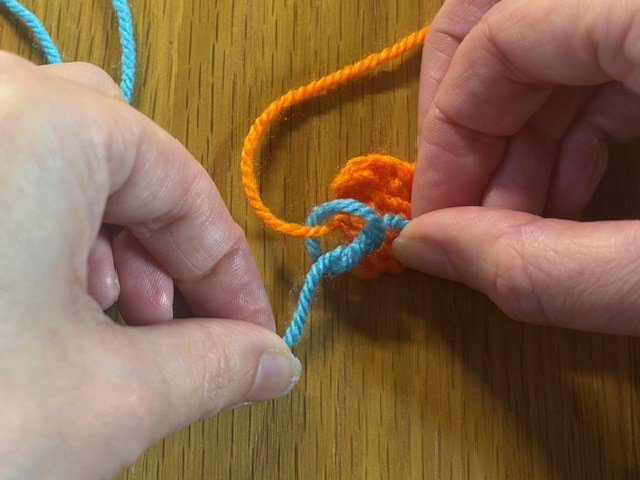
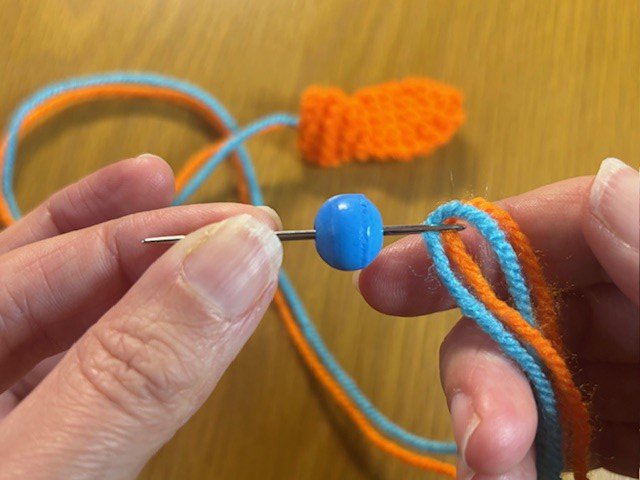
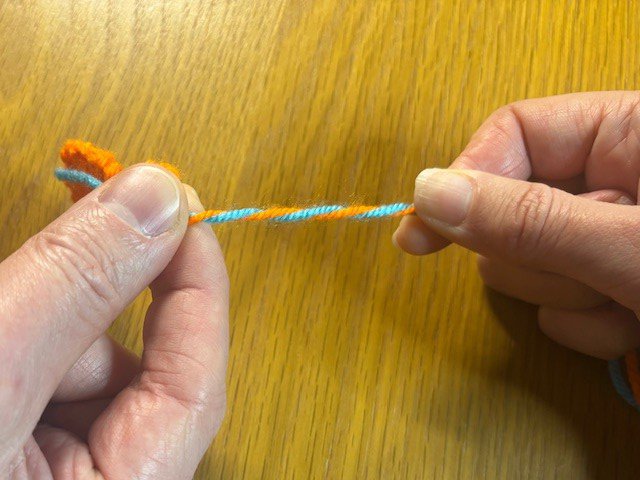
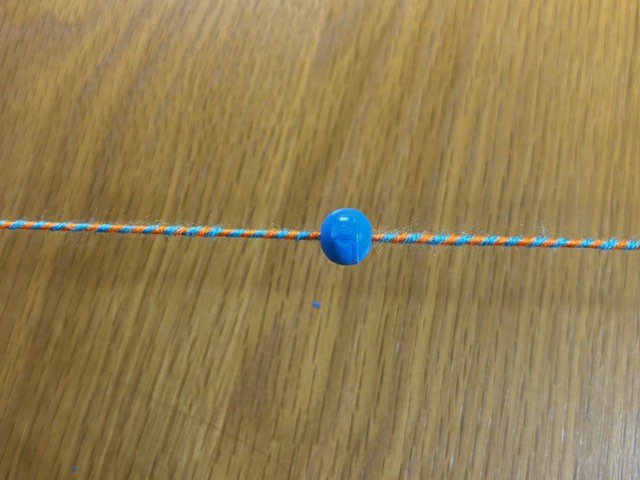
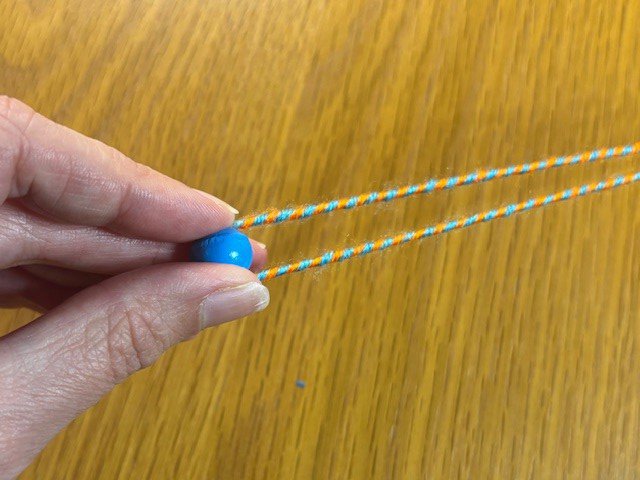
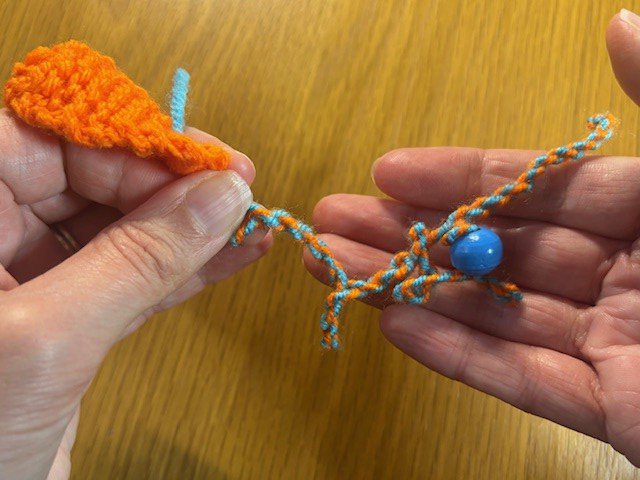
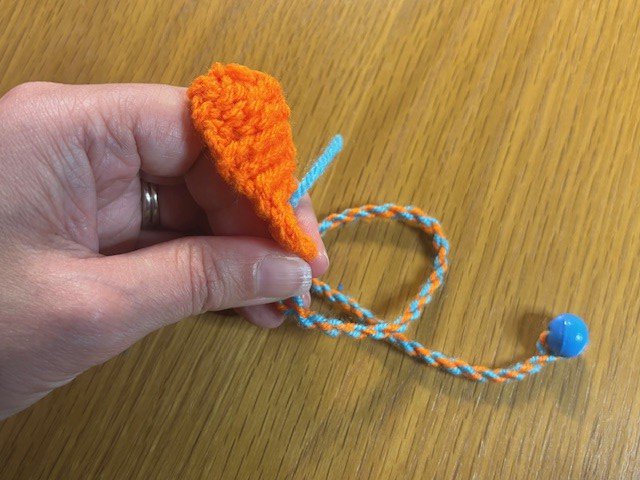
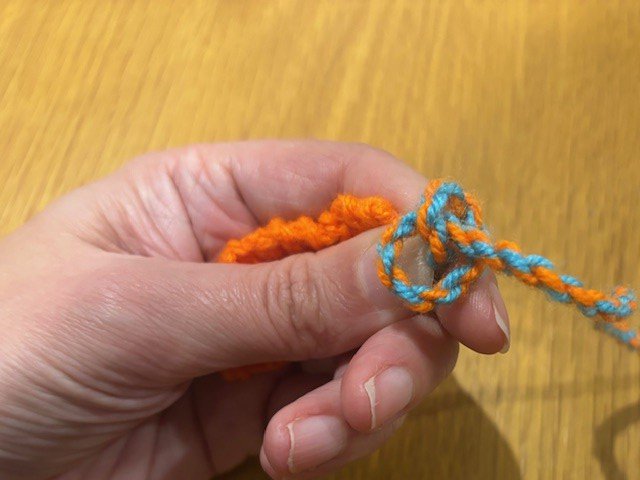
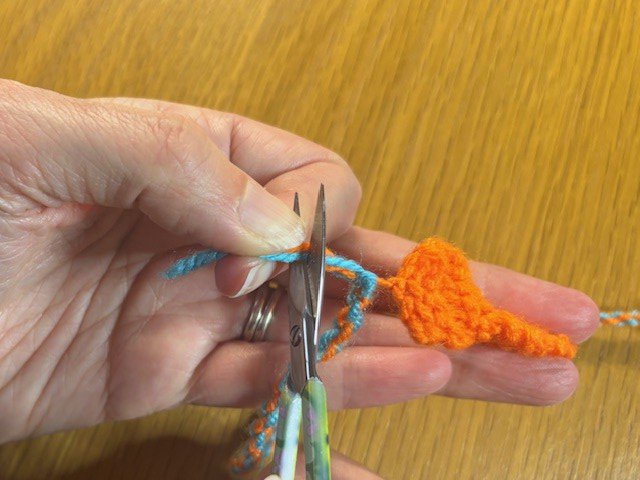
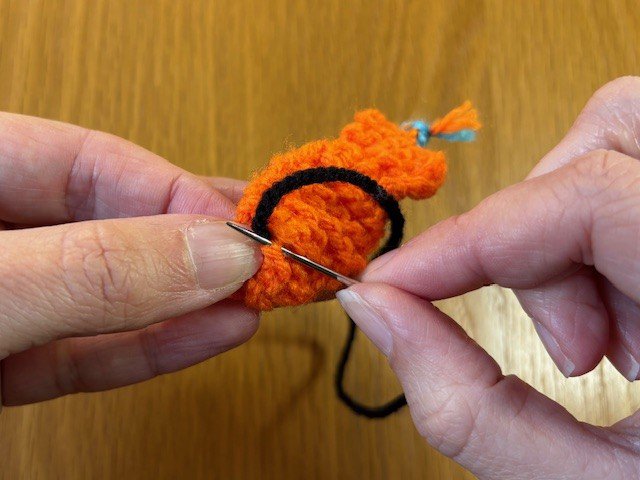
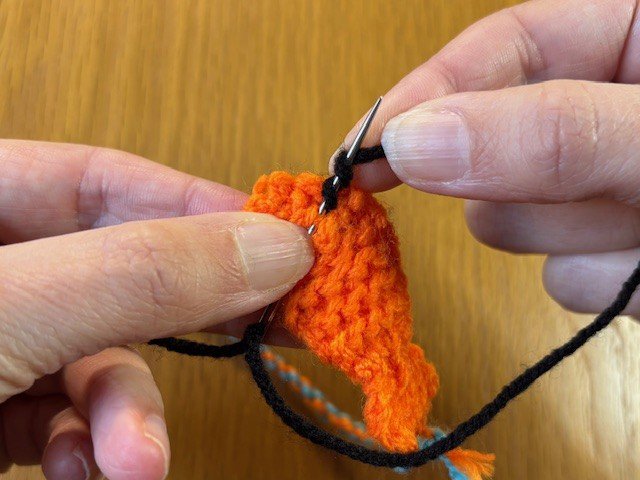
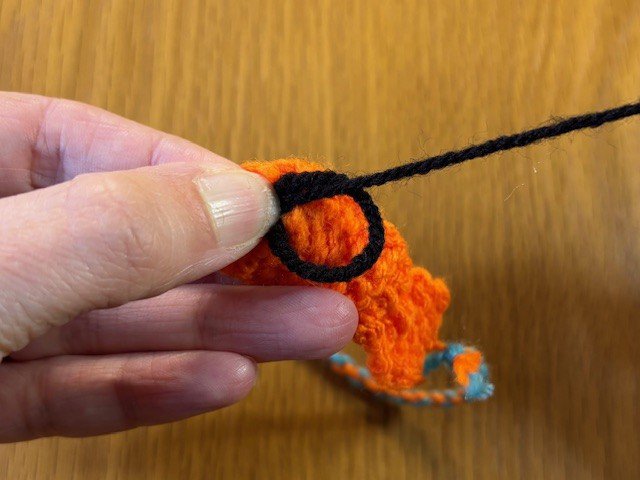
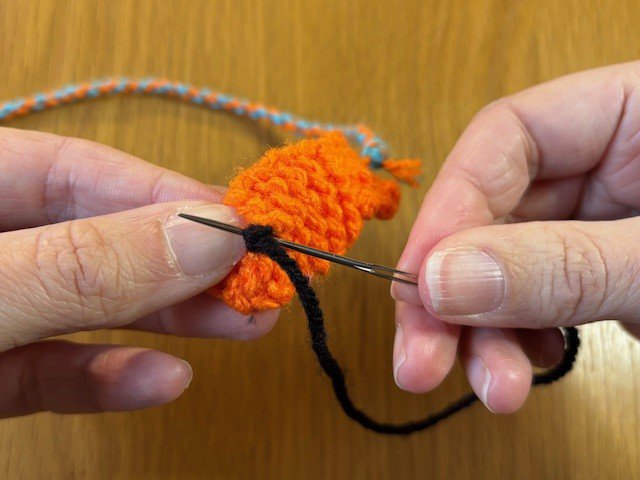
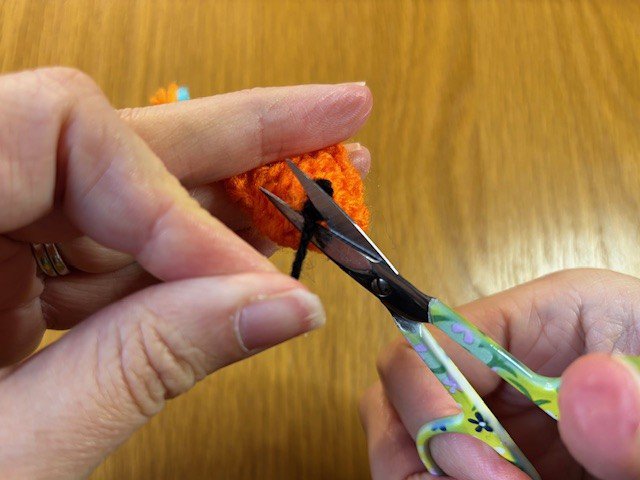
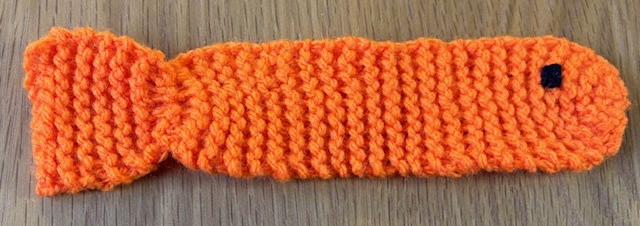
A larger fish bookmark - good for beginners who would like a bit more knitting practice.
For more detailed help on any of the techniques mentioned in the instructions, check out our Knitting Basics section.
For this project we used 4mm knitting needles. You can use a different size, but it will affect the width of your fish.
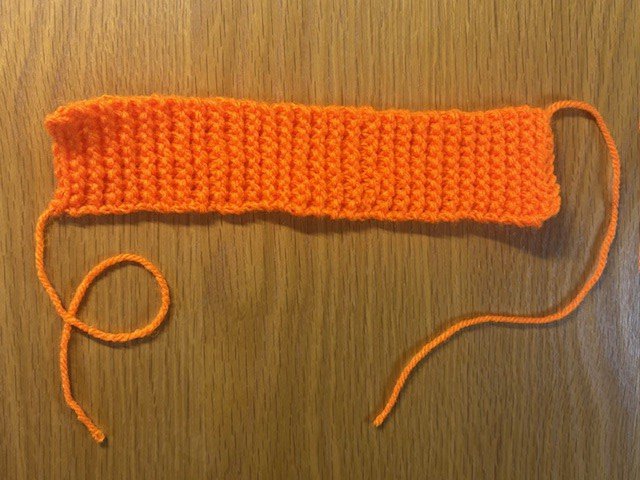
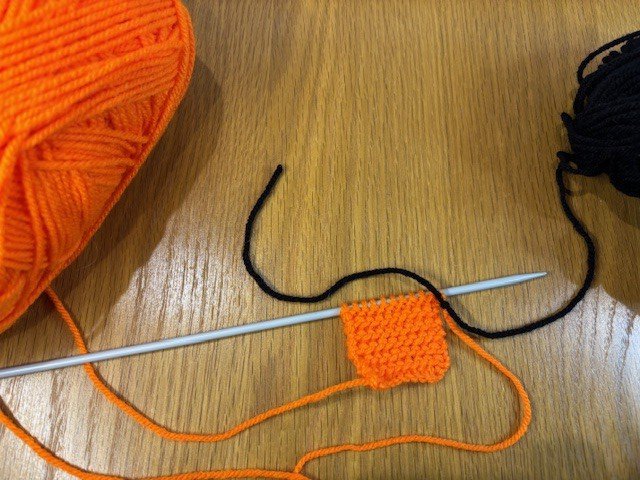
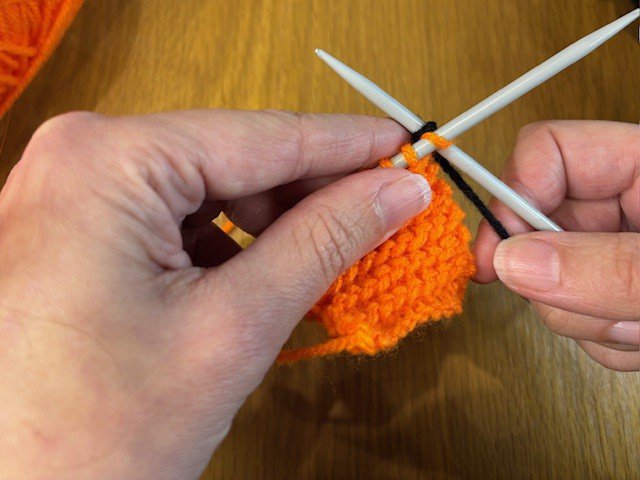
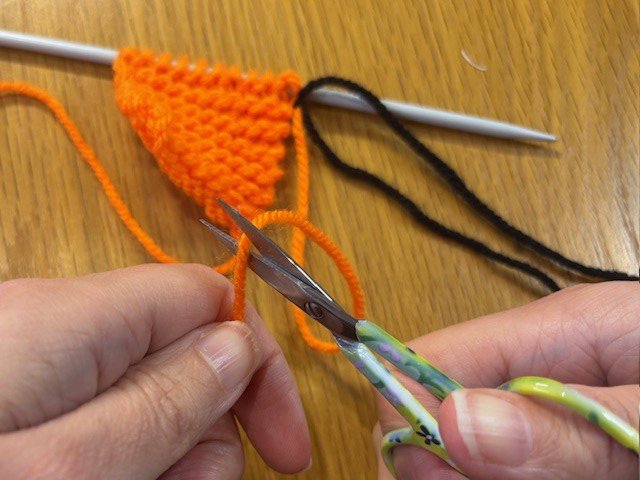
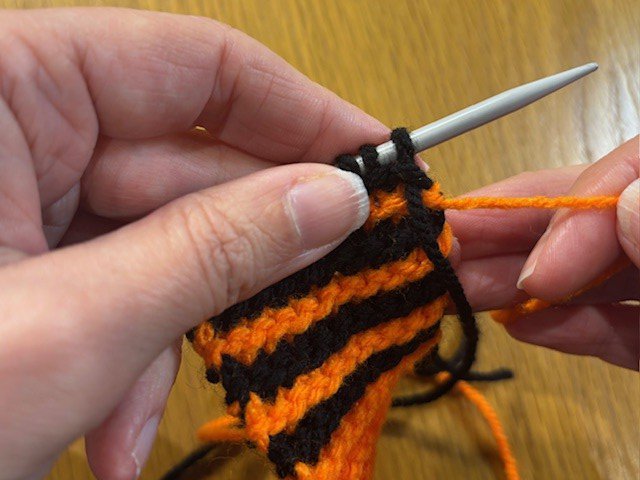
If you'd like a multi-coloured fish, you can see the section on Knitting Basics to see how to change to a different coloured yarn and tidy up the yarn tails at the end.
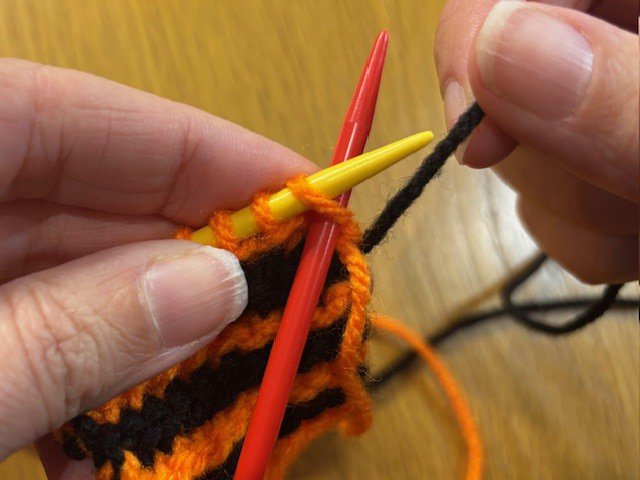
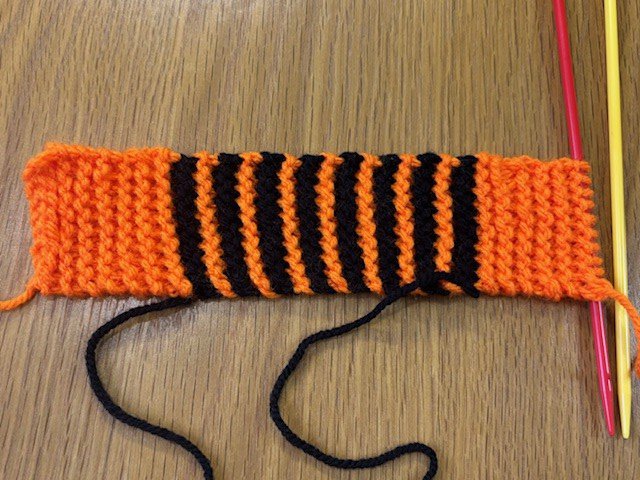
For our example below we made the body stripy, and kept the head and tail a solid colour. If you'd like to do this then start the colour change about 4cm into your rectangle, and go back to solid colour 17cm in, leaving 3cm of solid colour before you cast off.
The 4cm section will be the tail and the 3cm section will be the head.
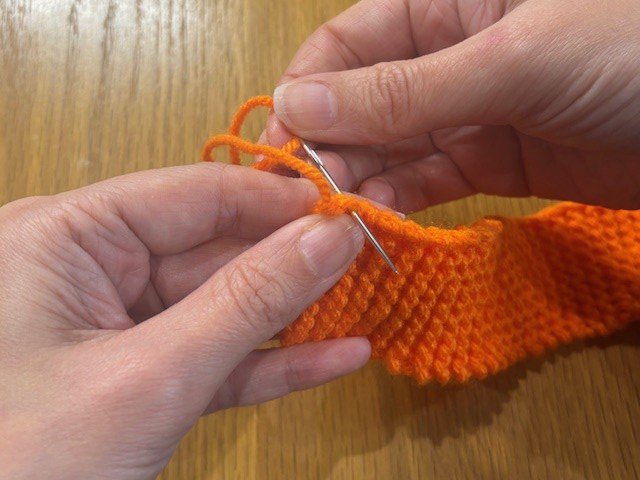
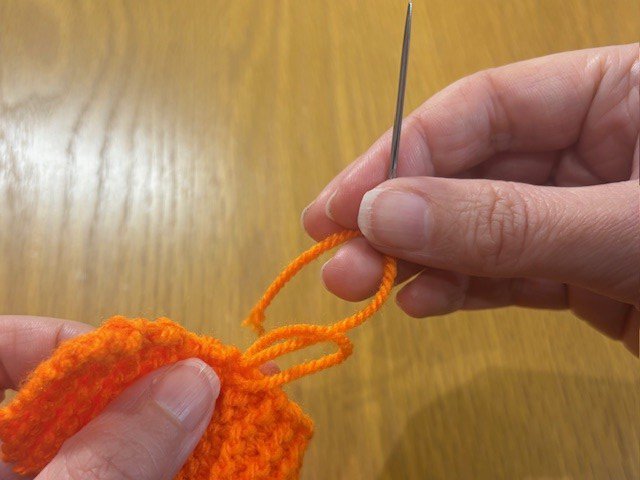
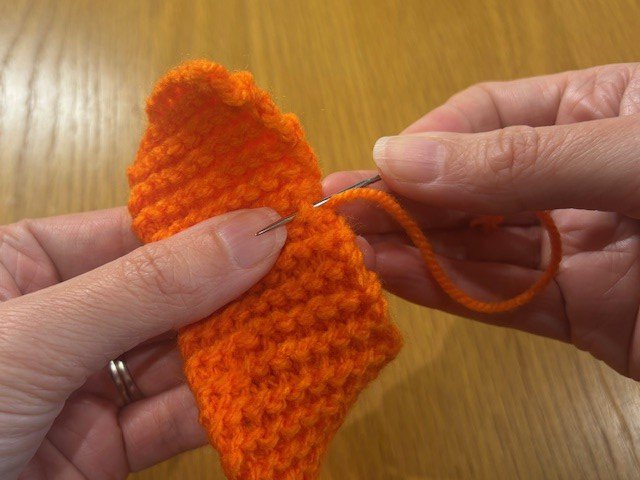
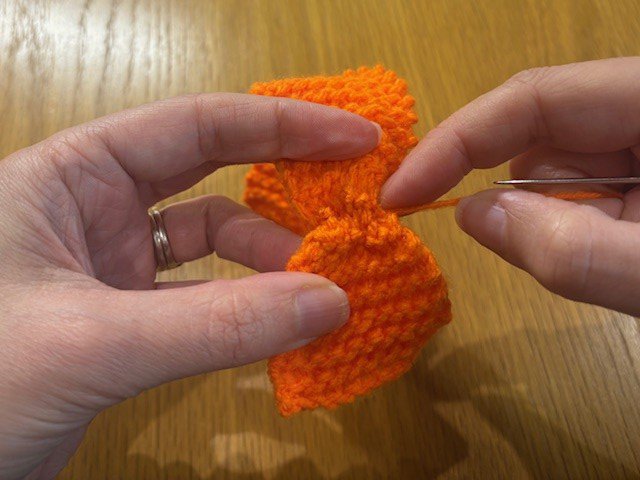
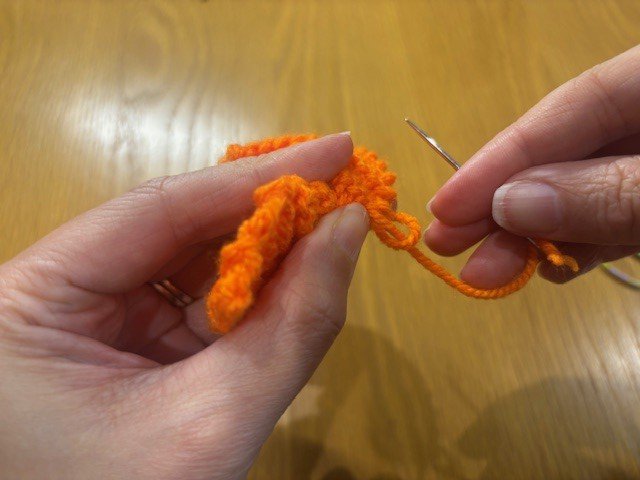
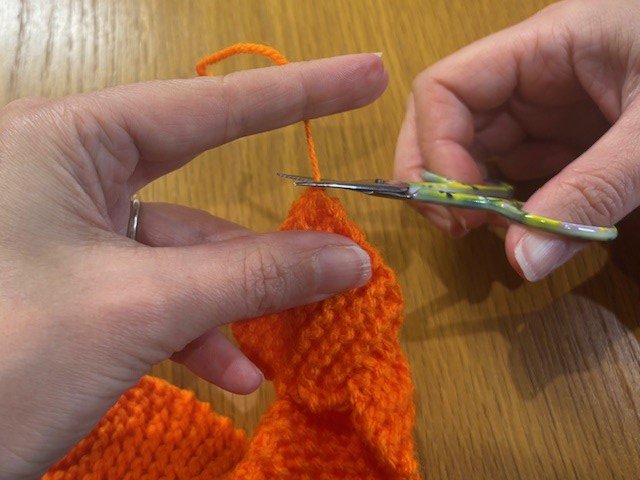
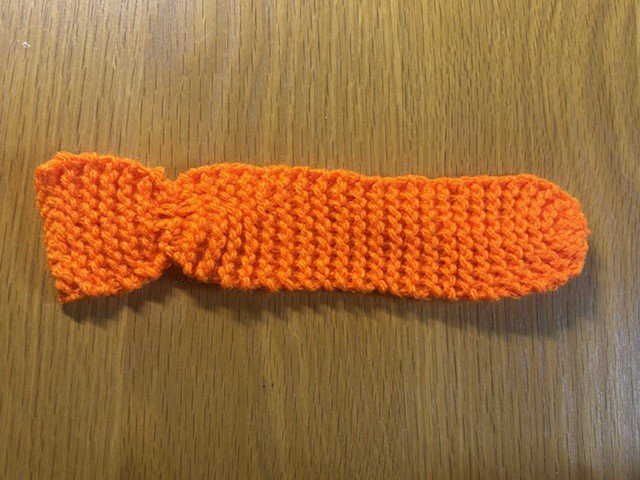
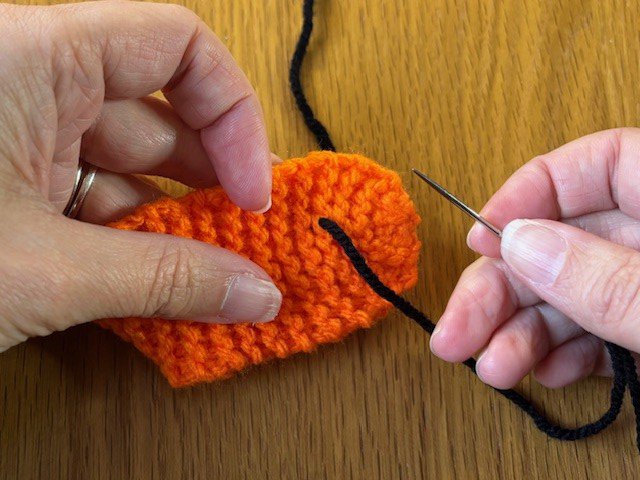
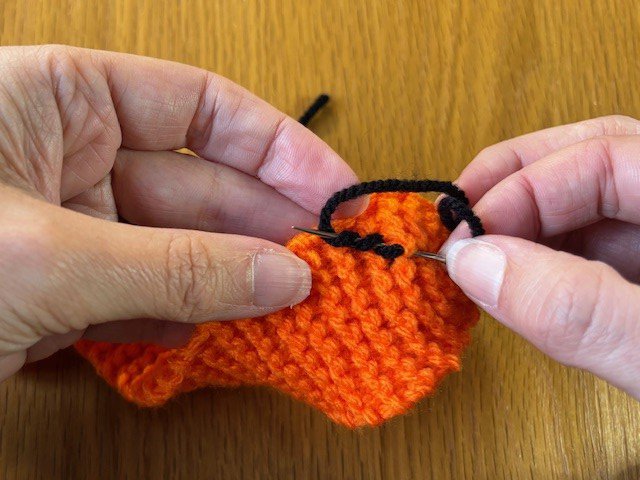
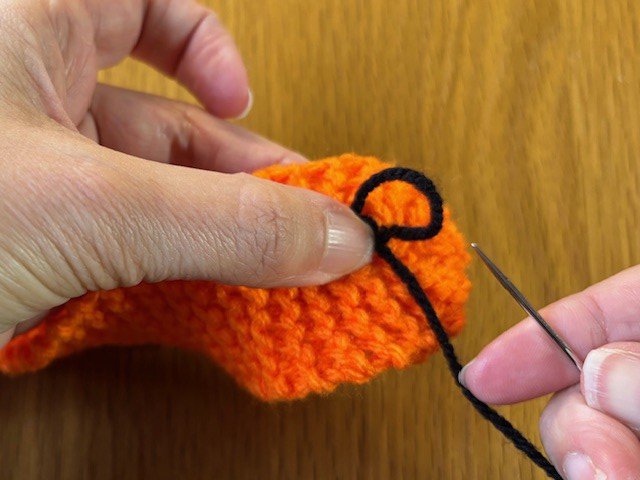
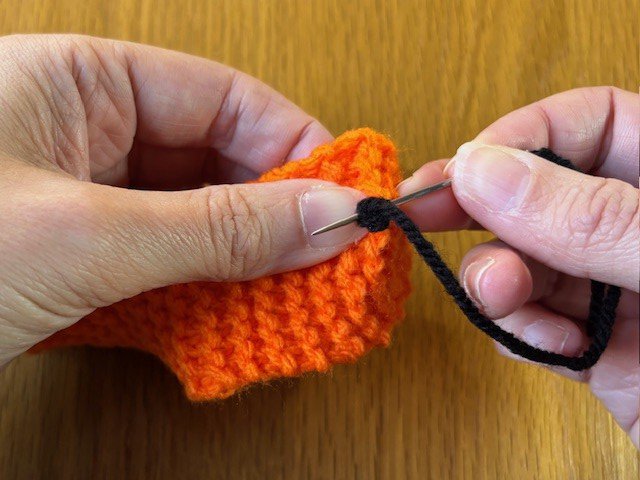
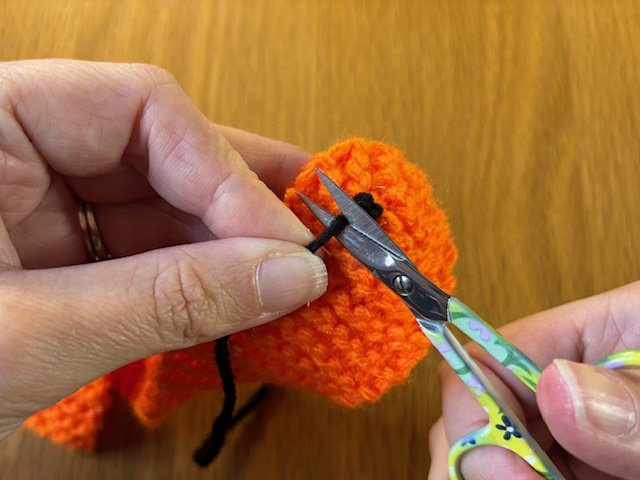
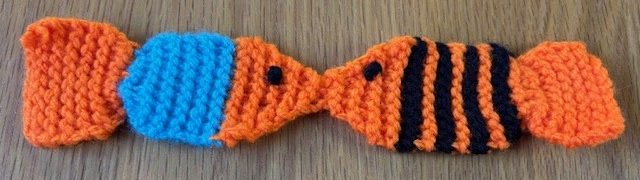
A simple project for knitters who want to practice increasing and decreasing.
For more detailed help on any of the techniques mentioned in the instructions, check out our Knitting Basics section.
For this project we used 4mm knitting needles. You can use a different size, but it will affect the width of your bookmark.
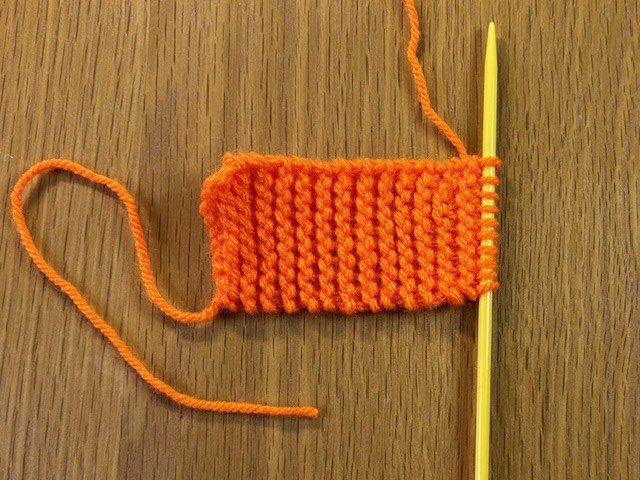
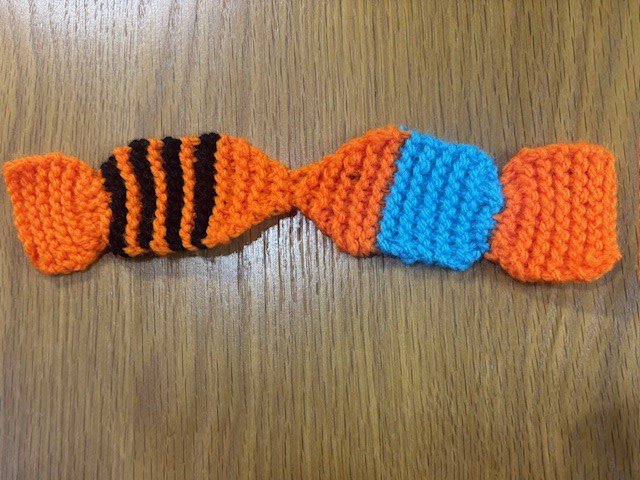
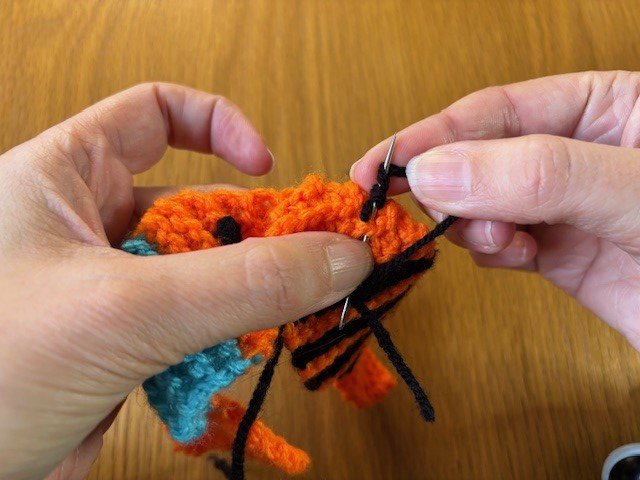
Instead of gathering the tails you can shape them by increasing and decreasing.
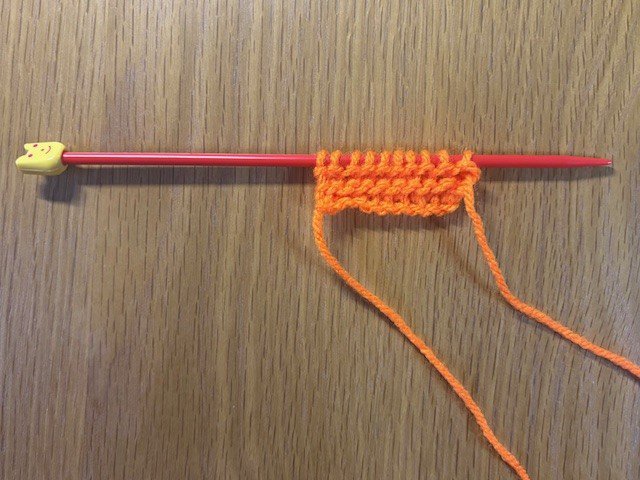
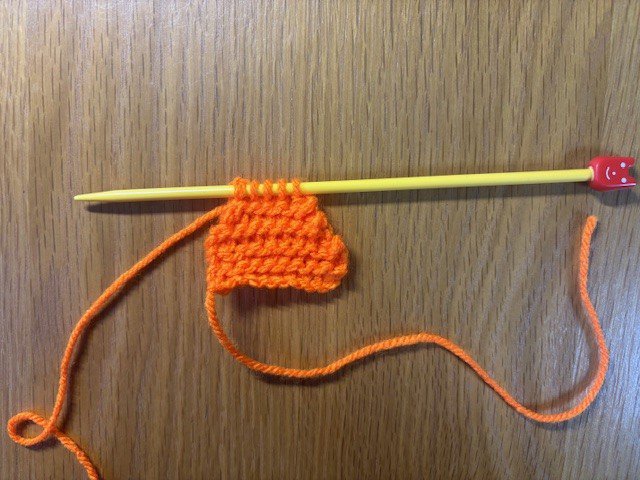
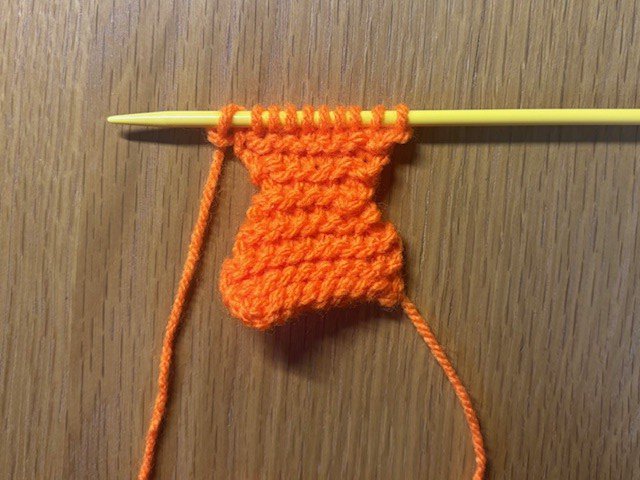
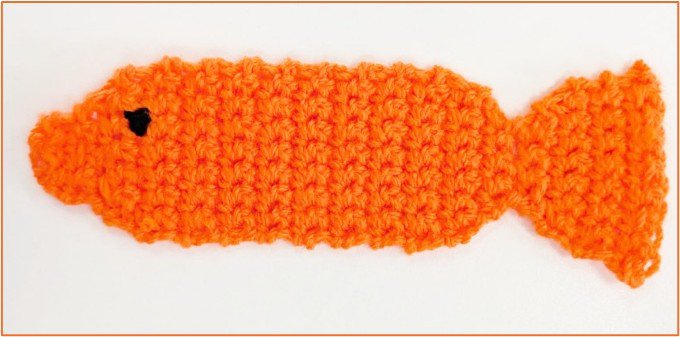
Huge thanks to Jennifer, a Library Customer Service Adviser at Kirkby-in-Ashfield Library, for putting together this pattern for a crocheted version of the Long Fish bookmark.
Crochet instructions (written in US terms). Using DK yarn and 5mm hook.
Key: SC – single crochet, DEC – decrease, INC – increase, st - stitches
In your main colour for your fish:
Row 1: Create a slip knot on your hook, chain 10
Row 2 -6: 8 SC (8st total)
Row 7: 1 DEC, 4 SC, 1 DEC (6st total)
Row 8: 1 DEC, 2 SC, 1 DEC (4st total)
Row 9: 2 DEC (2st total)
Row 10: 2 INC (4st total)
Row 11: 1 INC, 2 SC, 1 INC (6 st total)
Row 12: 1 INC, 4 SC, 1 INC (8st total)
Row 13 – 29: 8 SC (8st total)
Row 30: 1 DEC, 4 SC, 1 DEC (6st total)
Row 31: 1 DEC, 2 SC, 1 DEC (4st total)
Row 32: 4 SC (4st total)
Row 33: 4 SC (4st total)
Row 34: 2 DEC (2 st total)
Fasten off your yarn, cut and leave ends to tie and then weave this back into your fish to secure
In your second colour for the eye:
Cut a piece of yarn roughly 3in long, tie a double knot in the centre
Thread it through the middle of the fish’s head and weave the ends back and forth to secure the knot and tie a single knot to finish.


Arts & Culture
Who doesn’t love a cup of tea, a lovely scone and some social music-making?
Arts & Culture
It’s never too late to try something new and share ideas in a friendly, supportive group!

Arts & Culture

By becoming a library member you will be able to borrow books and items for FREE in libraries across the county, including mobiles. You can also access eResources, Ancestry and more!
Not a member yet? Join us - become a library member